As already mentioned in the Google key creation tutorial, the services used are charged by Google (not by CEDRUS). When creating a key, however, a bonus of $300.00 (300 dollars), valid for 3 months is granted by Google. At the end of this initial period, at each month Google affers a free US$ 200.00 tier. Depending on the service used, small and medium-sized companies may never exceed this limit.
API is an acronym for Application Programming Interface, and in very simple words, it allows communication between 2 programs. In the case of Cedrus, it is possible to use these communications to collect information directly from Google (traffic and distance between customers, for example), through the Google Maps Platform.
Google Maps Platform pricing is flexible and adapts to the needs of each company. In addition, the platform provides a credit of $200 every month to use on your products. That way, you only pay the amount that exceeds that amount each month. That is, the cost depends on the volume of use and the needs of each business.
In general, small businesses end up not exceeding this amount provided by the platform, and end up using it for free. Larger companies may need a greater volume of specific solutions . To find out the cost of each service, you can access the price list and estimate the amount of your monthly bill. Furthermore, you can still use the price calculator. The connection between the two programs (router by CEDRUS and Google) requires an access key, called an API key
We emphasize that to use CEDRUS algorithms, it is not necessary to have an API key, we provide an equivalent for all services. The key, however, enables the most up-to-date traffic information, as well as viewing complete routes on the map. Check out a 6-step tutorial below to generate your key.
1 Login or create a Google gmail account
First, to get a Google Maps API key you will need to have a Gmail account. If you don't already have one, you can create one for free. by clicking on the link beside Create Gmail Account
2 Access the Console API dashboard
Then, logged into your Gmail account, you should access the Console dashboard of Google APIs. You will see a screen similar to the image below:
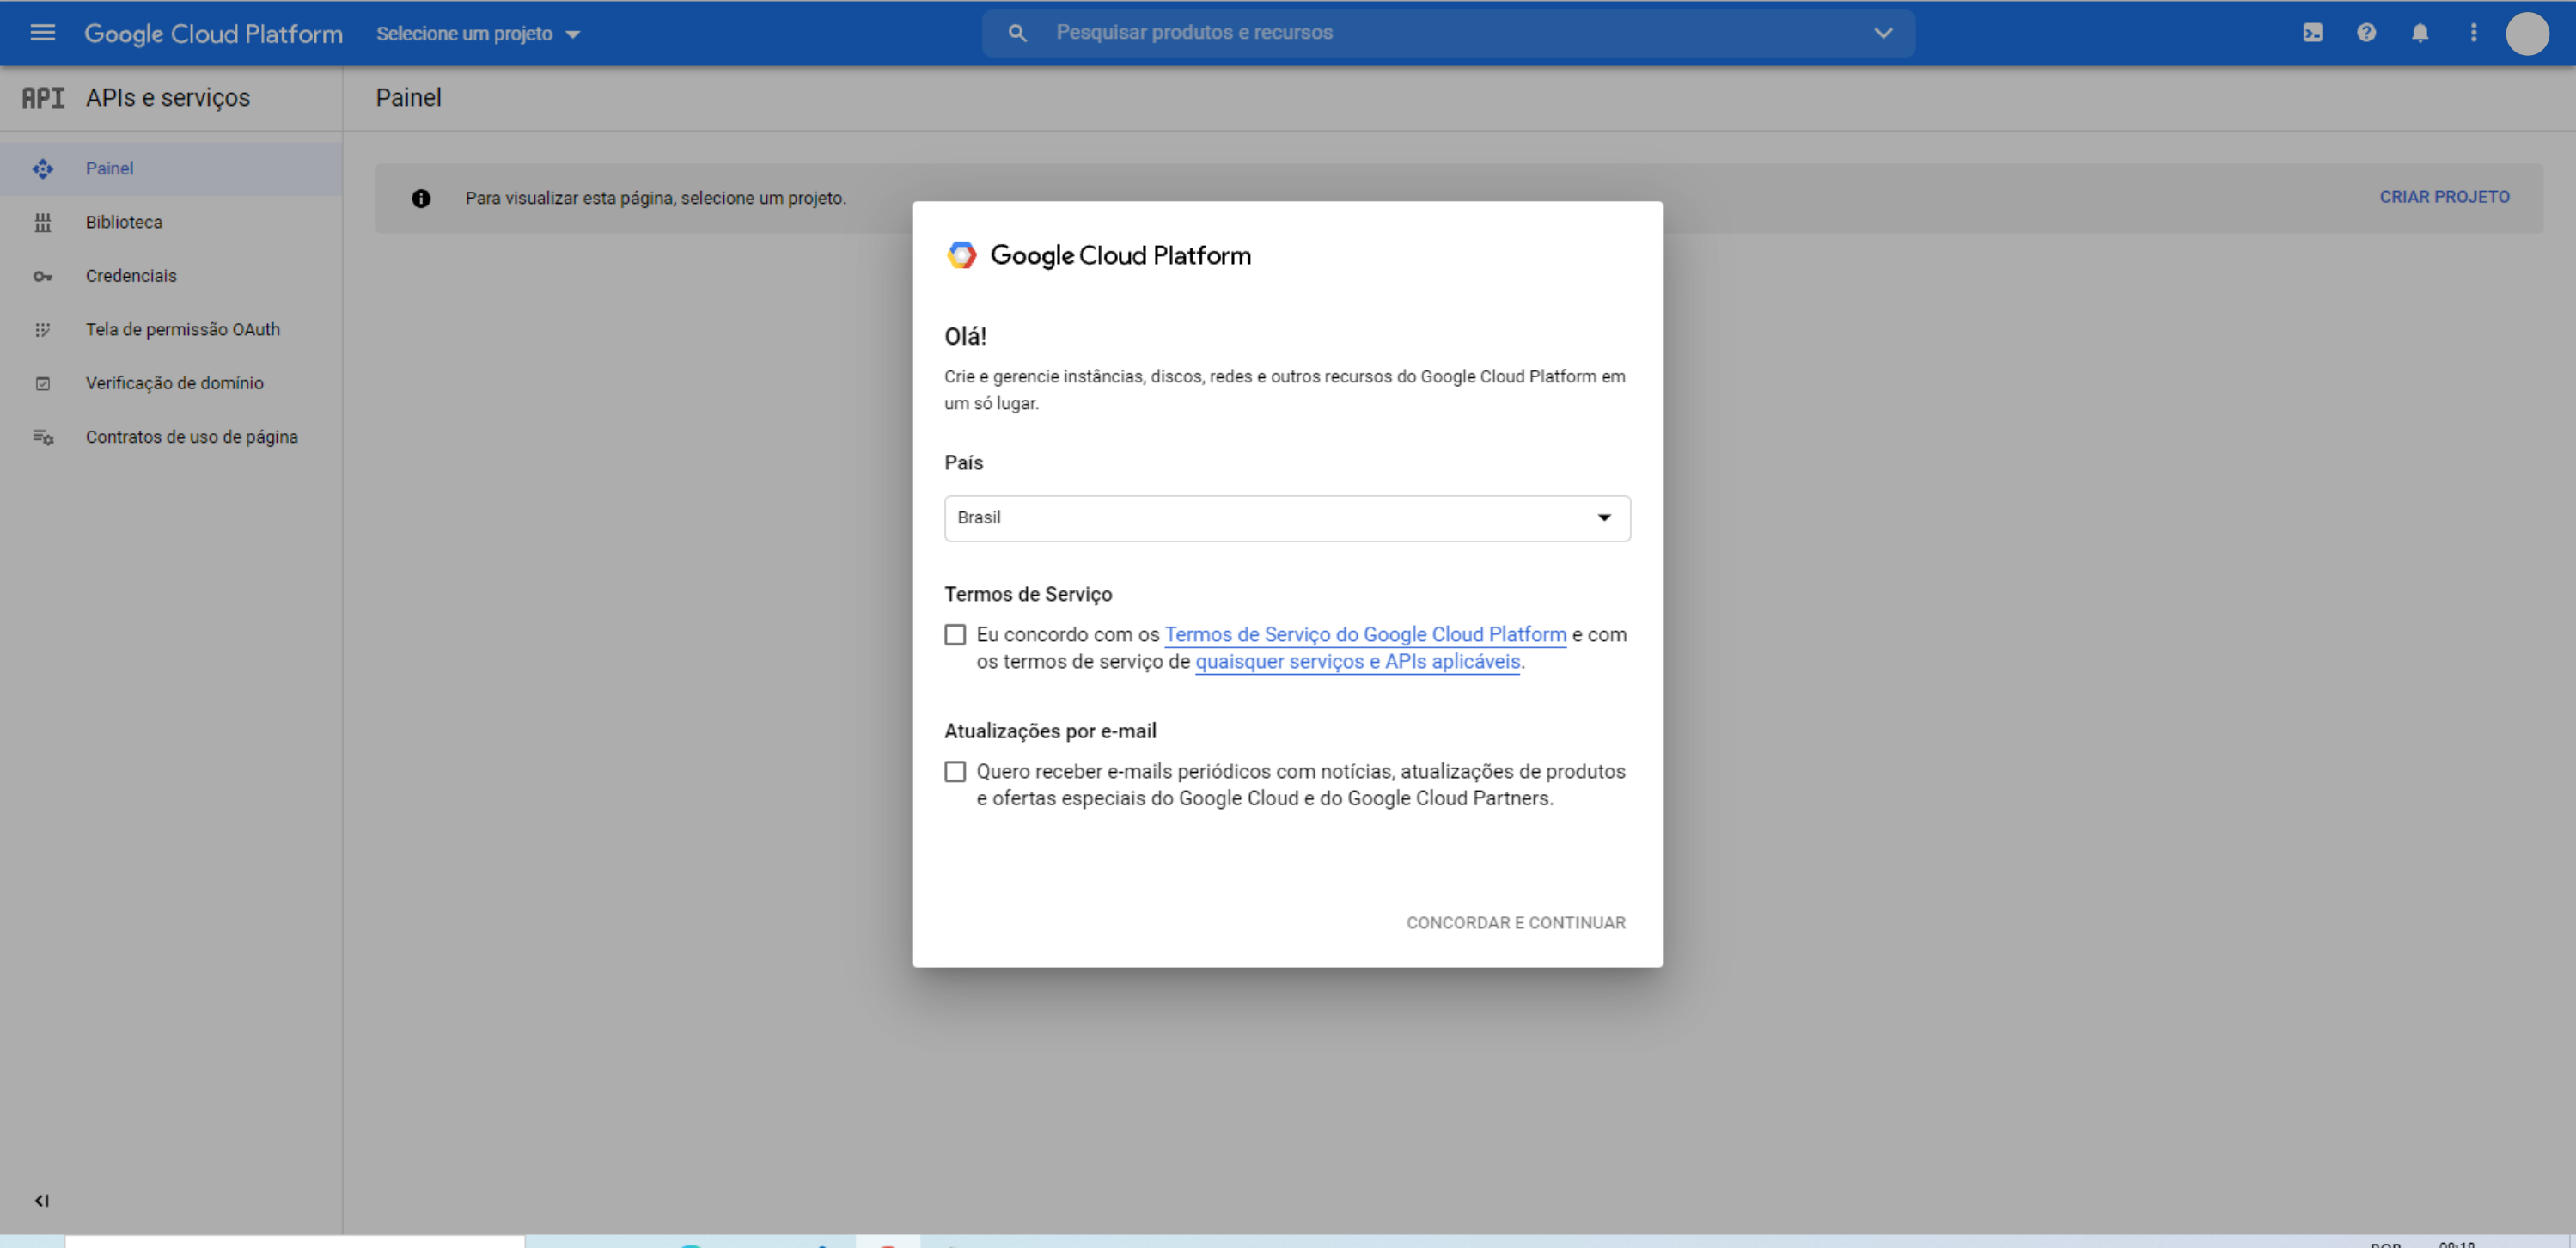
Fill in your country, and click "Agree and continue"
3 Select an existing project, or create a new one
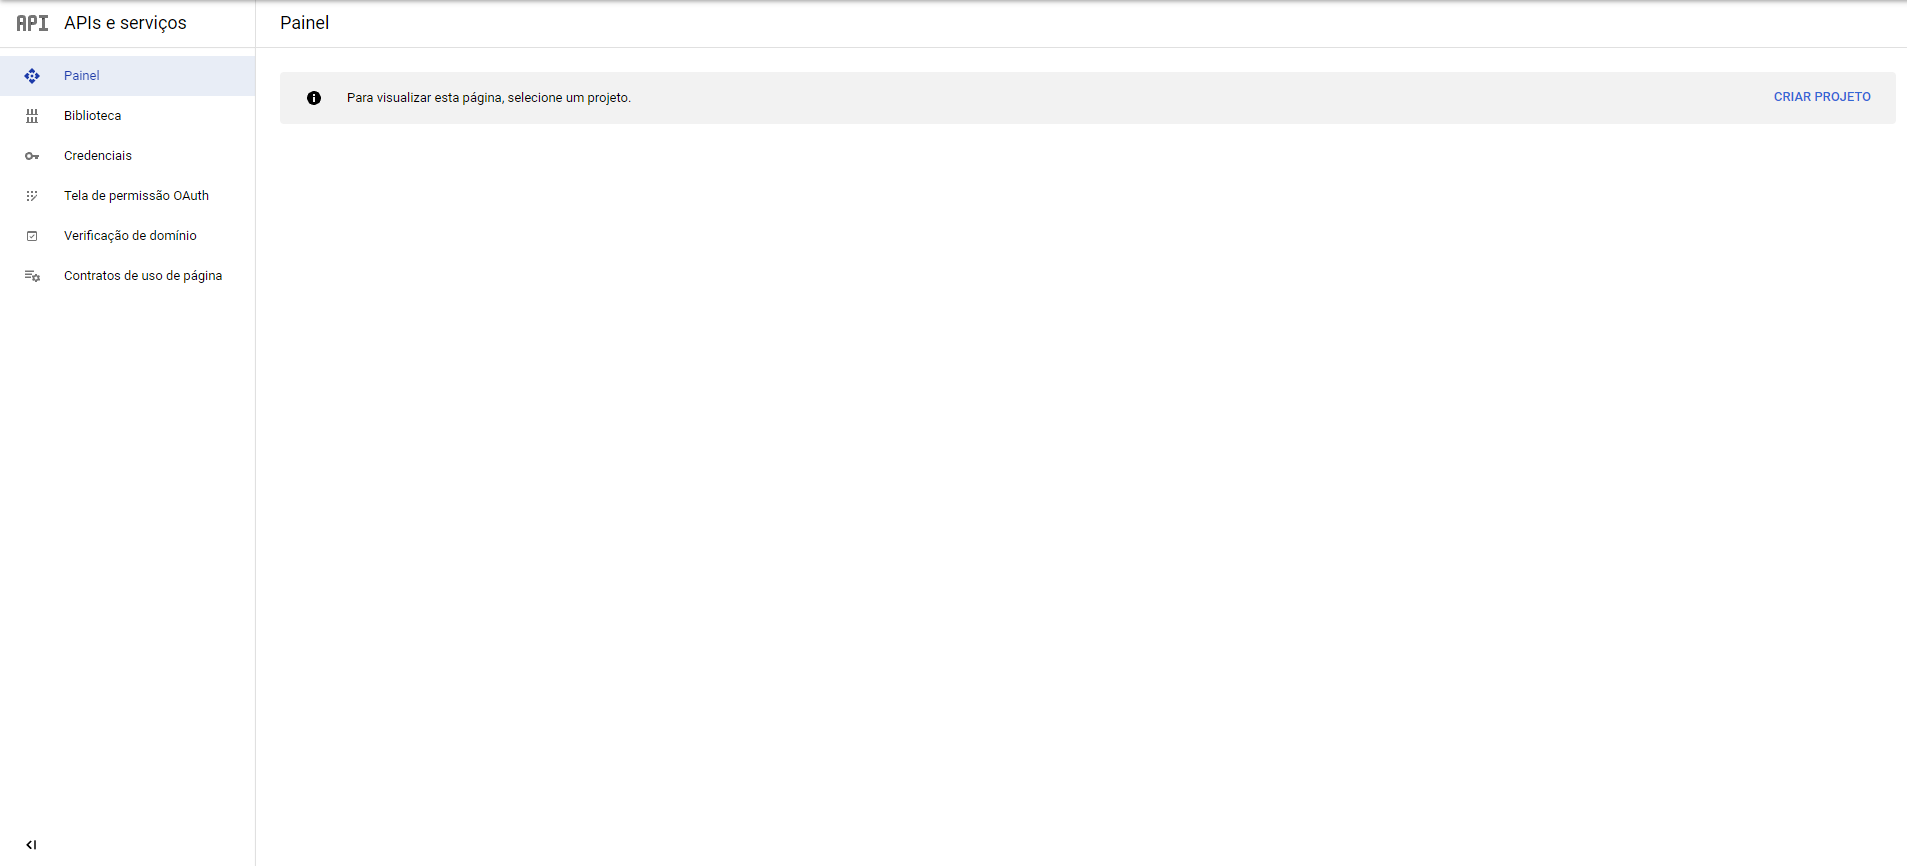
You can only get a Google Maps API key by having a project on the platform. If you already have one, two options will appear on the right side of the screen: "Select" and "Create".
If you don't have any yet, only the "Create" option will appear, which you must click on, as shown in the print below
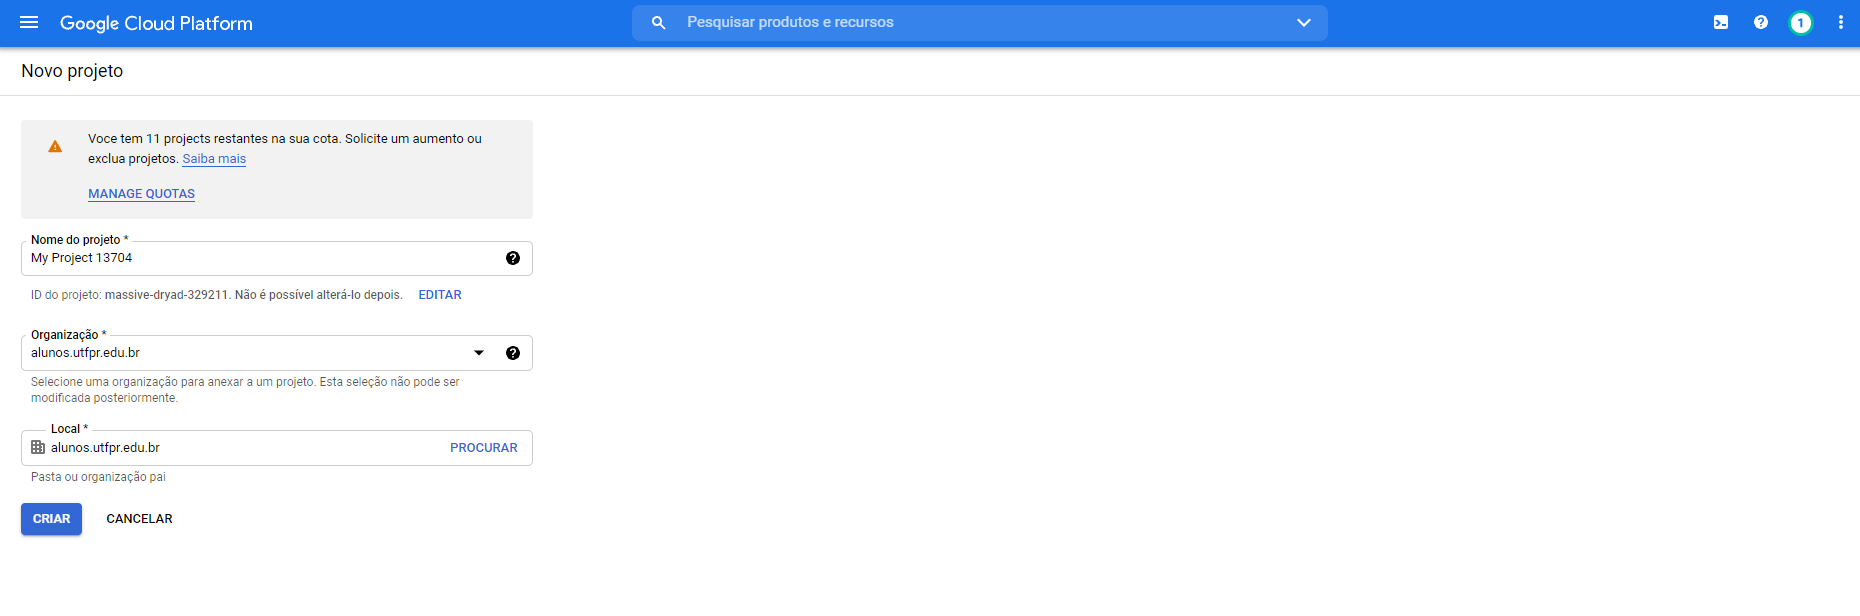
Now just give your project a name. It is important that this name is related to the role it will play, in order to facilitate their identification among others. After entering the name, just click "Create". You will be redirected to the “Credentials” menu, as shown in the image below:
4 Create your credentials
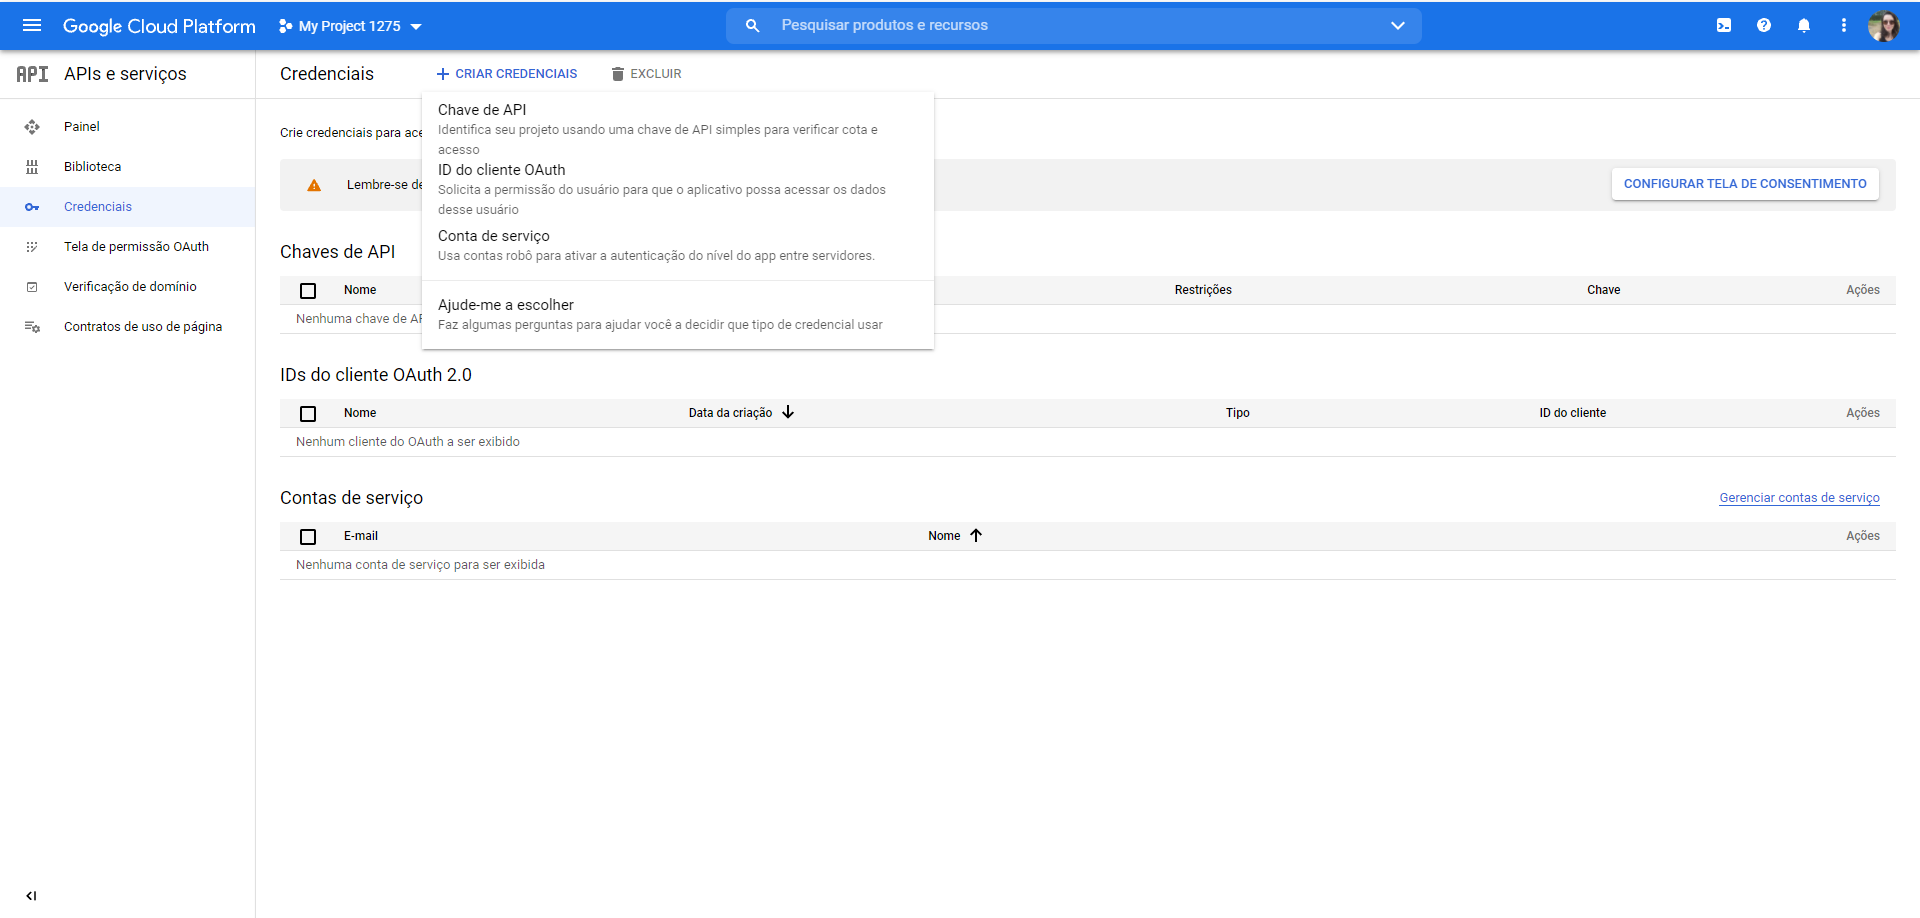
To access the APIs it is necessary to have credentials. It is in this step that you will create them. Just click on the button in the left corner "Credentials" and then at the top in "Create credentials".
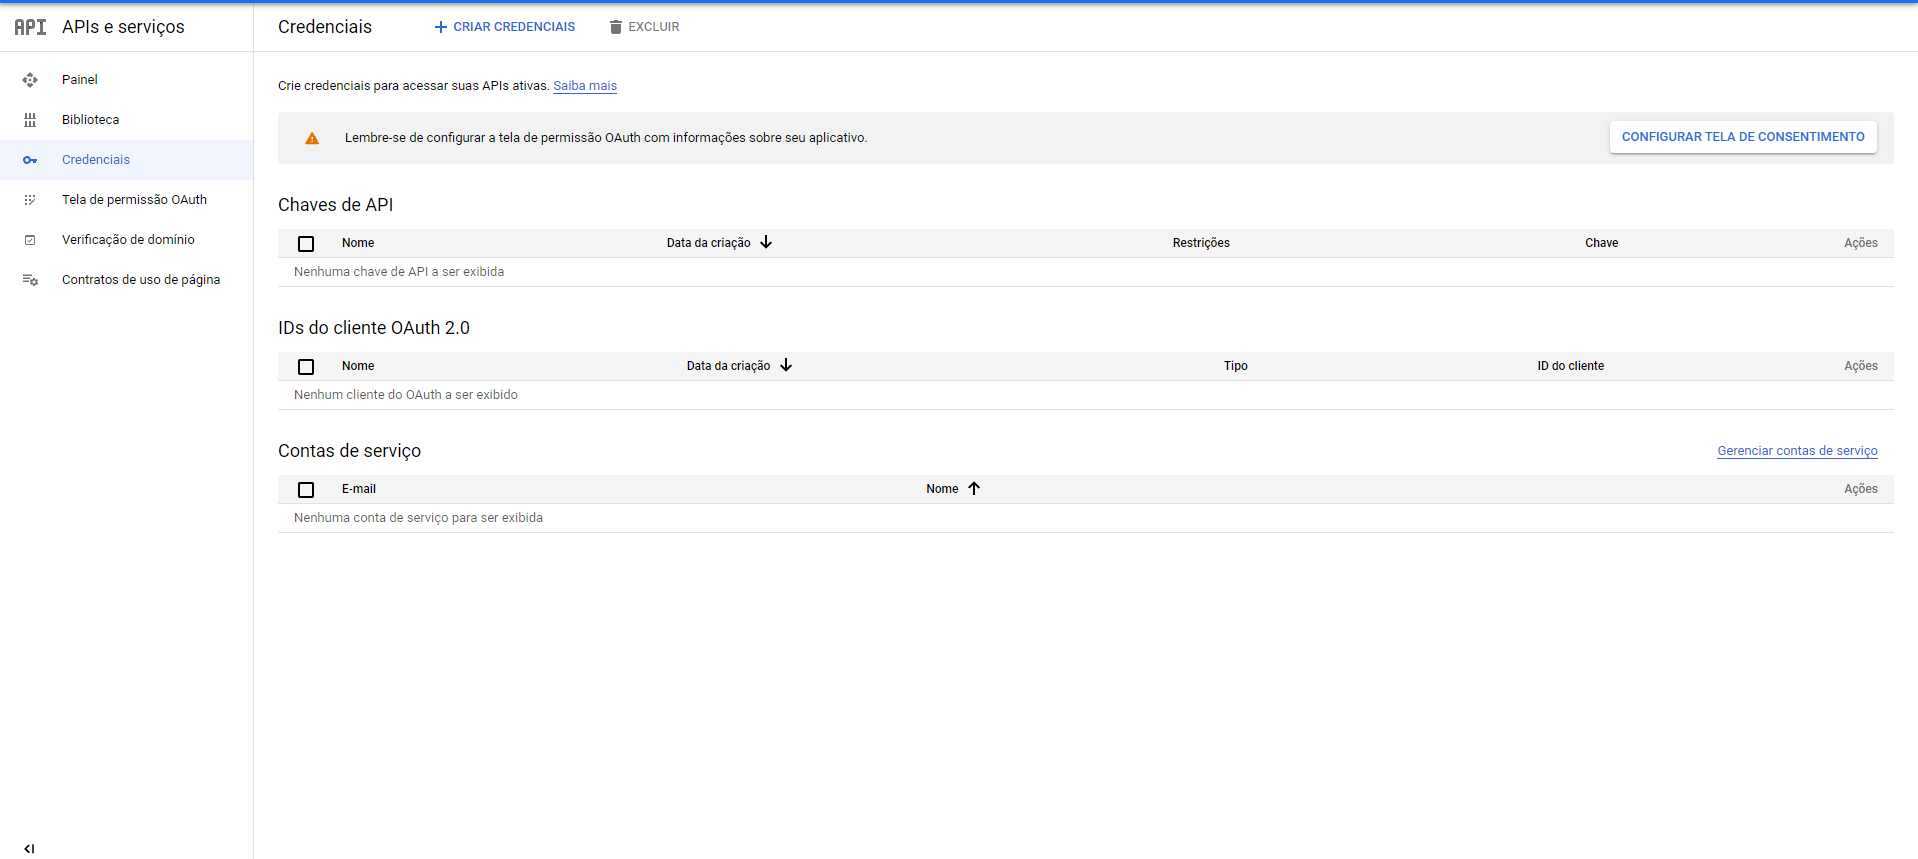
Then select "API Key"
All done! Your key has already been created and appears on the screen as a sequence of numbers and letters, it is this sequence that must be inserted into the router (copy the key and save it in a safe place, so you don't lose it).
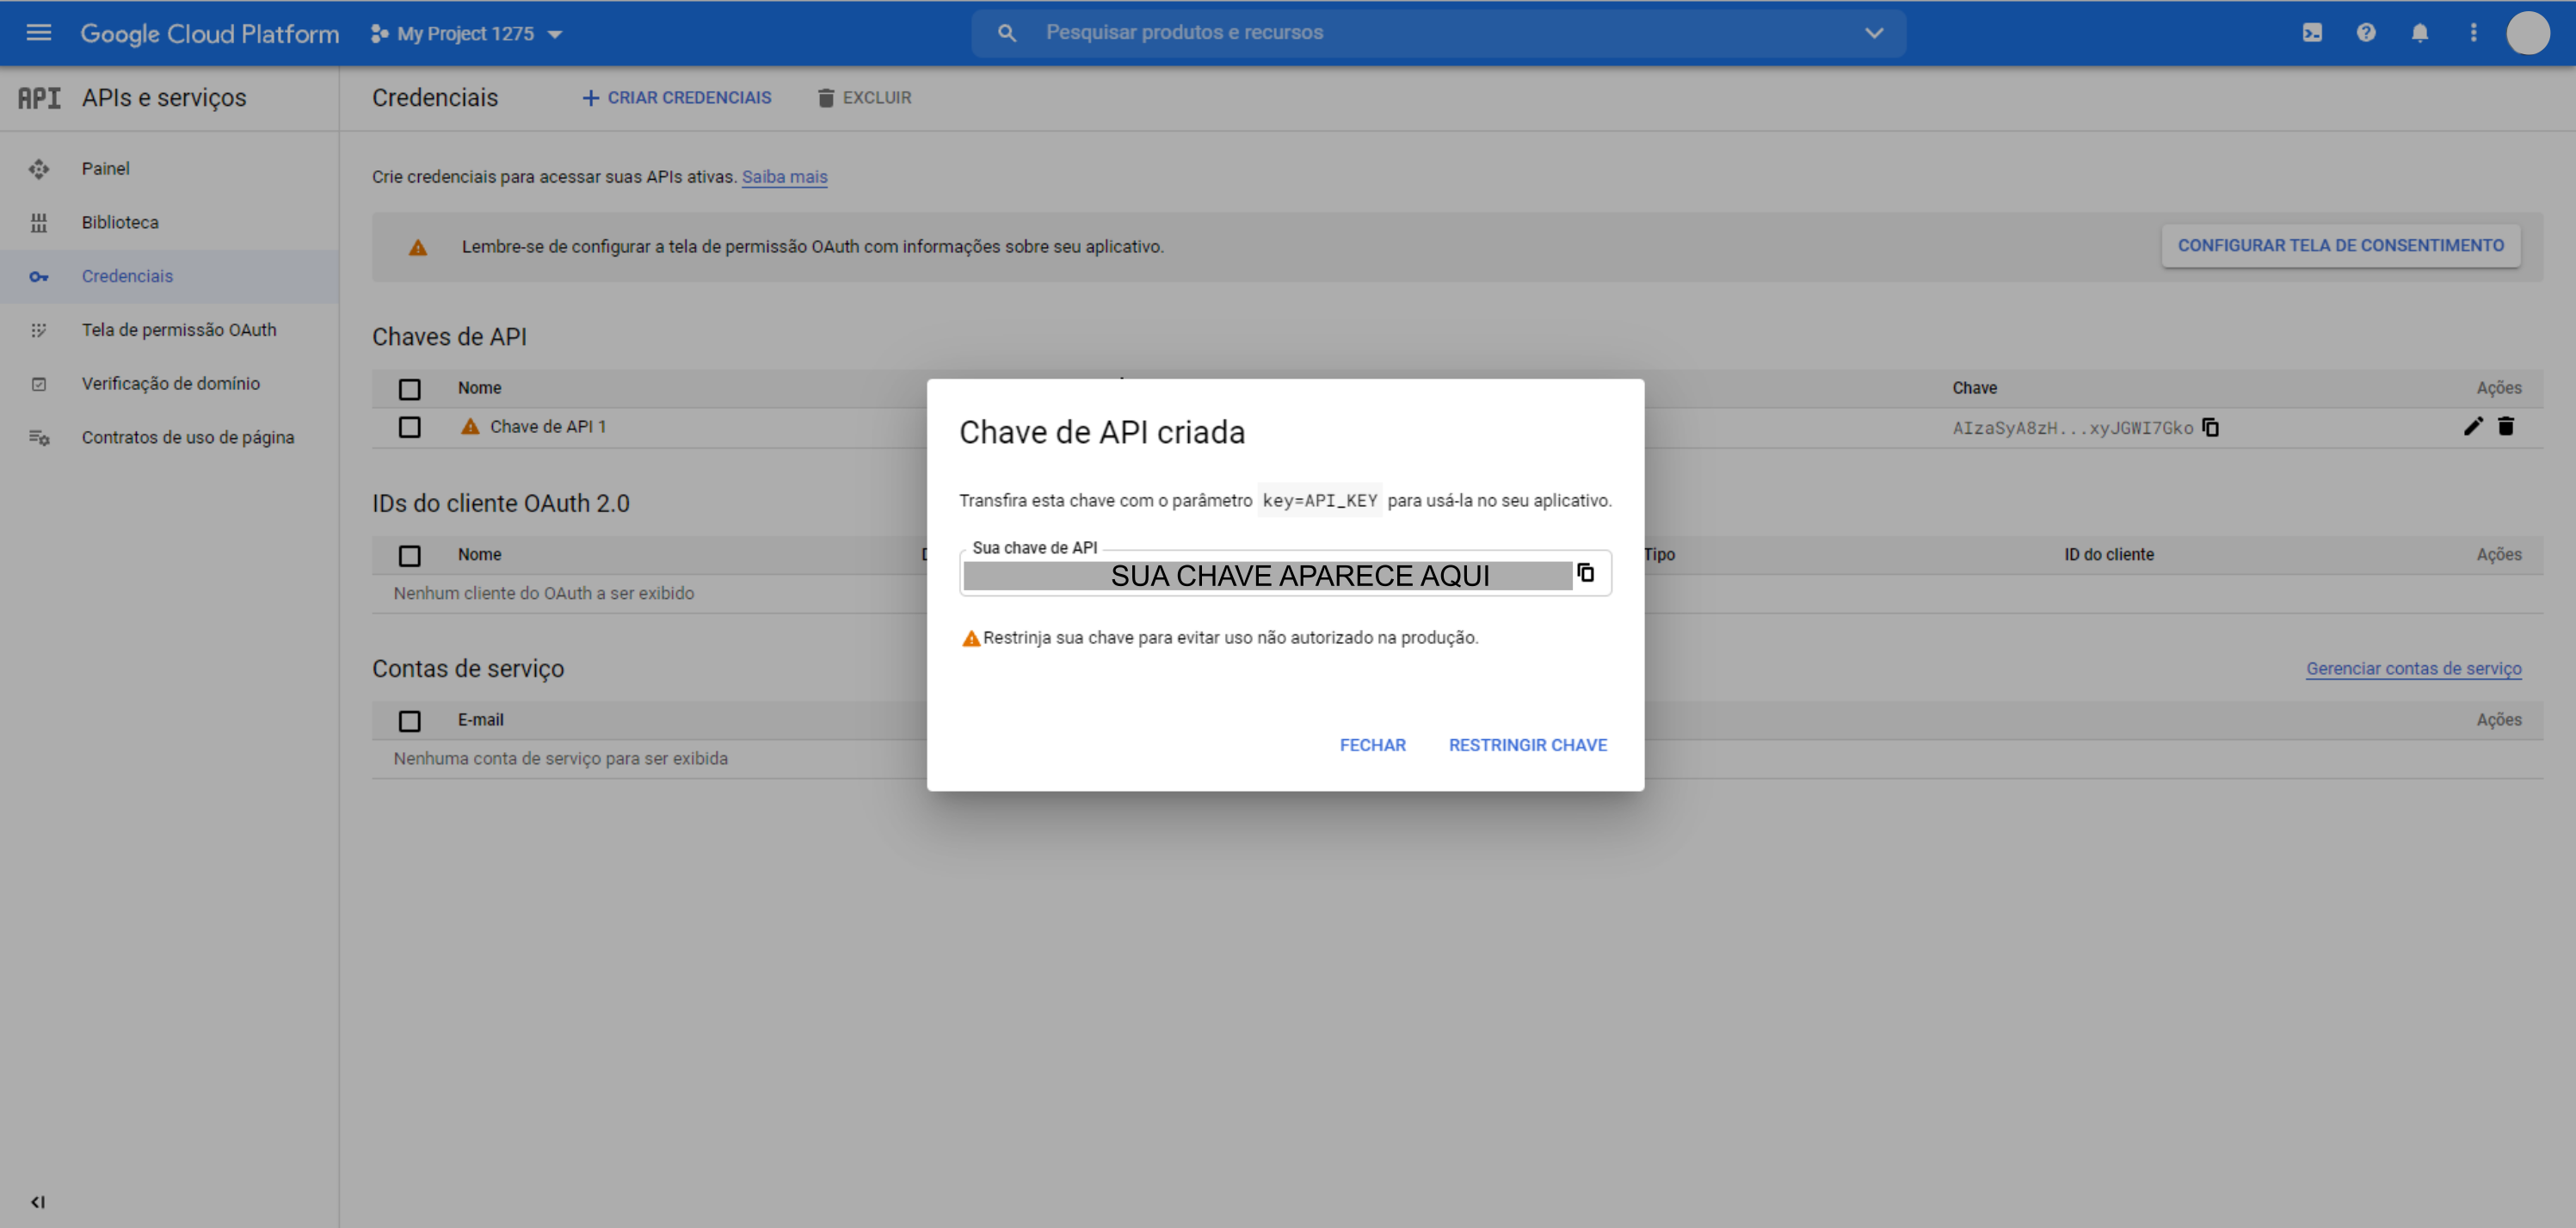
By clicking on "Restrict Key" you will have the option to rename your API Key and apply any usage restrictions. If you do not want to apply any restrictions, just click "Close". Once this is done, you can now copy your API key and insert it into the router, in the "Settings" tab.
5 Activate your API key
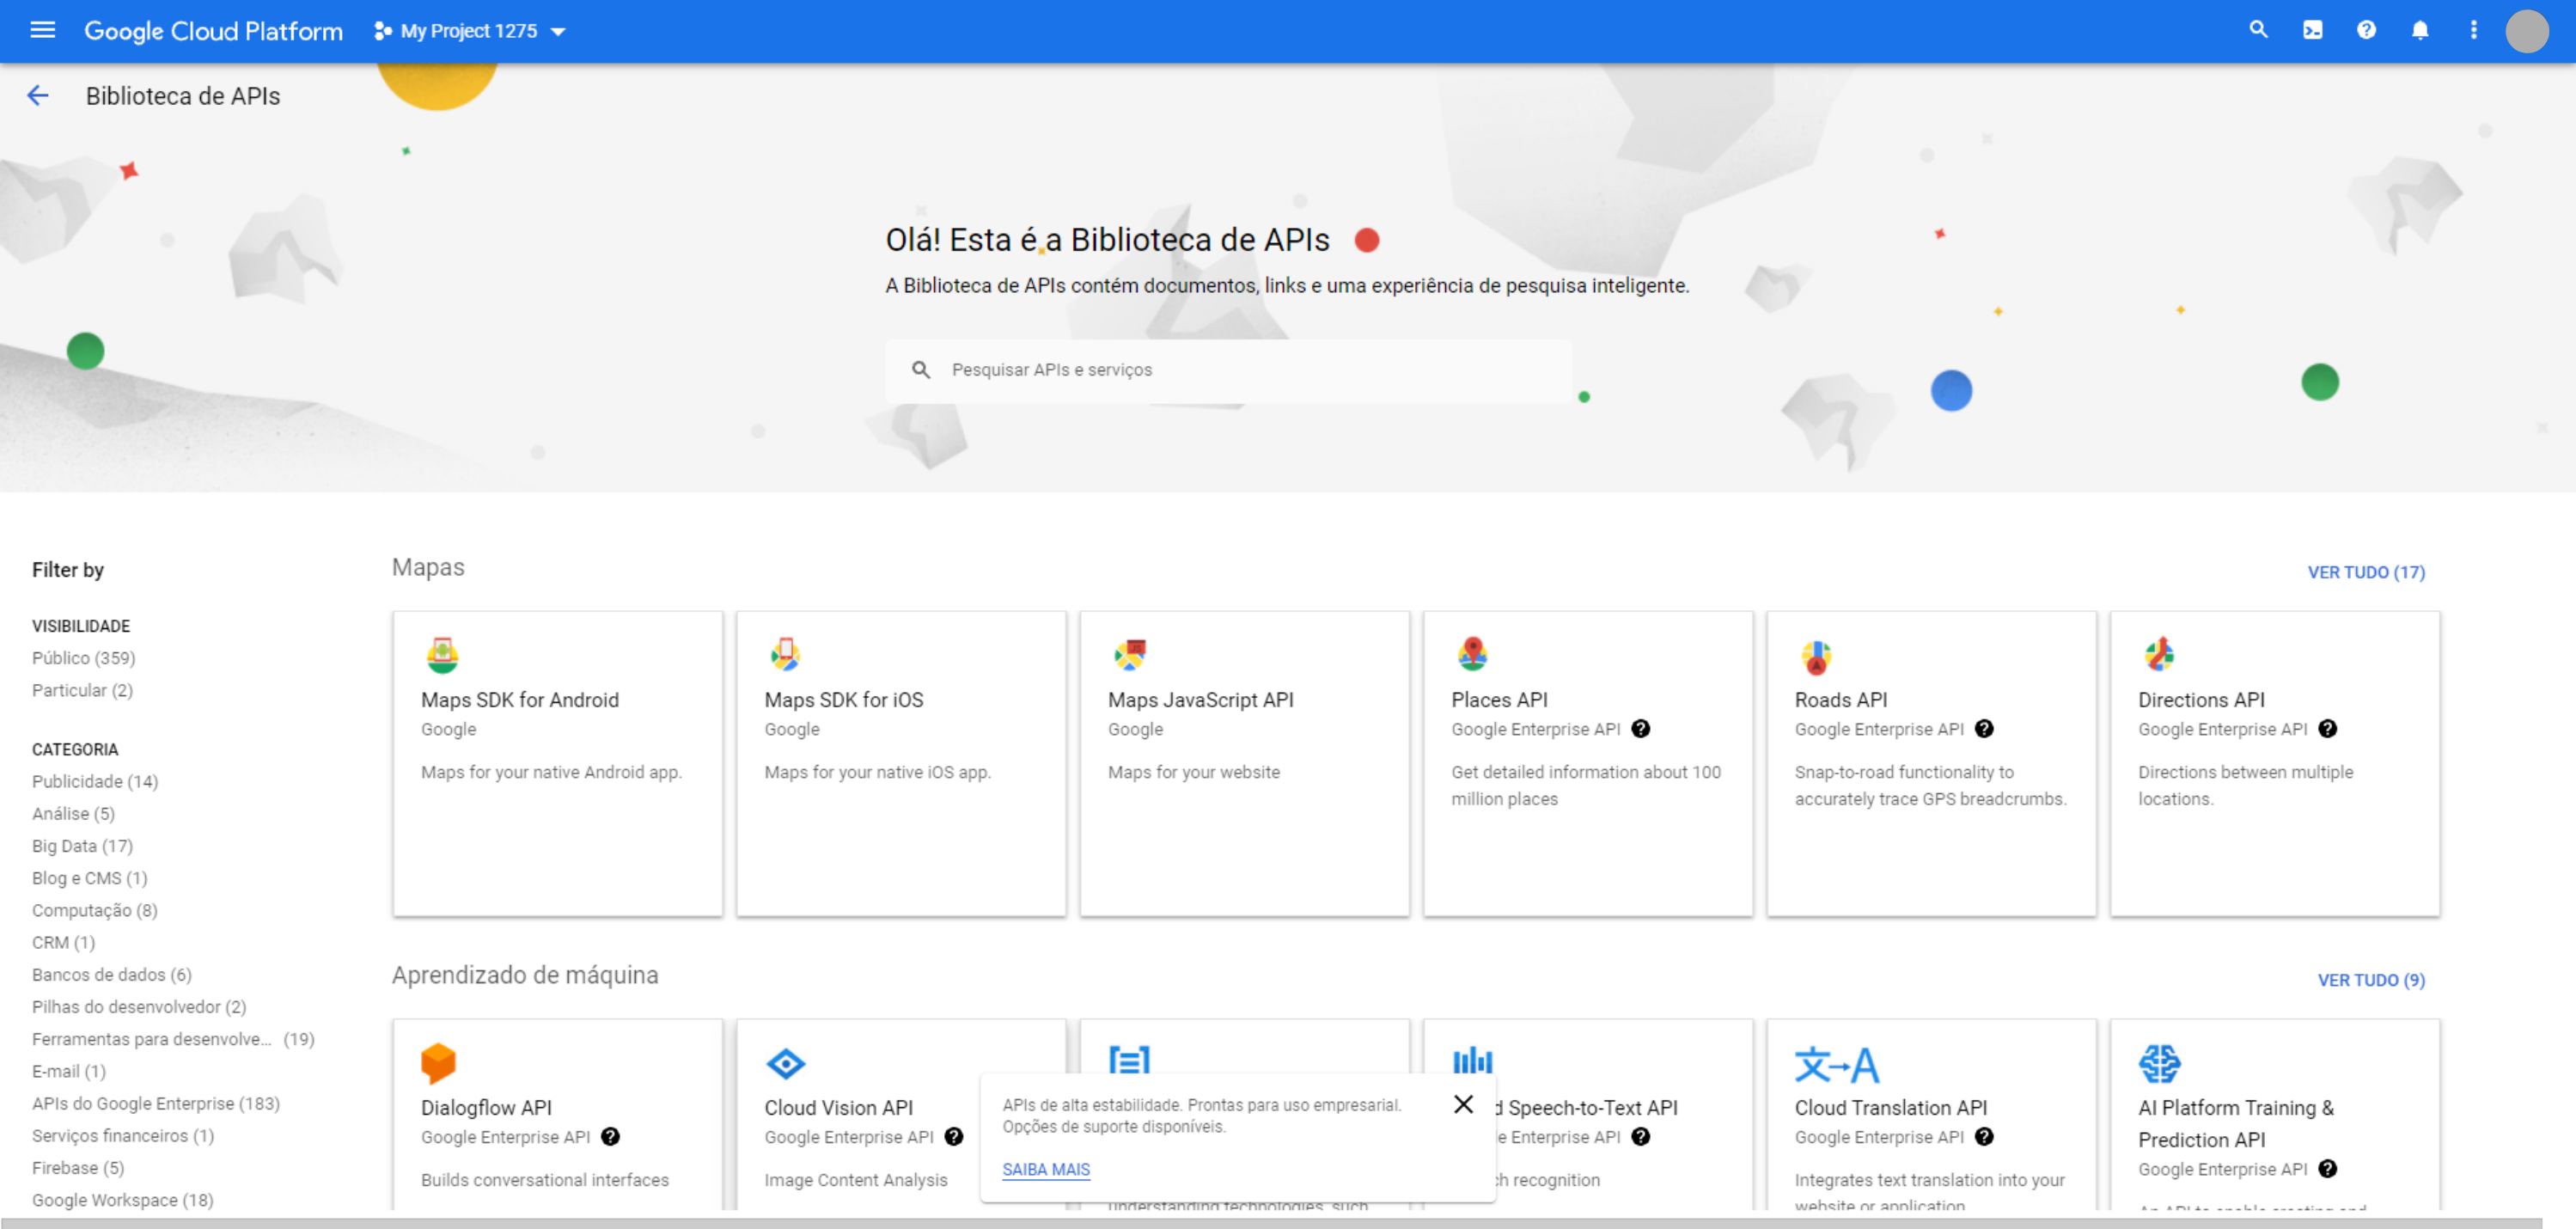
Now that you have your credentials, the next step in getting a Google Maps API key is to select the services you want to use. The router uses 4 services: "distance matrix API", "directions API", "javascript maps API" and "geocoding API". To do this, just access the "Library", in the menu on the left side of the page.
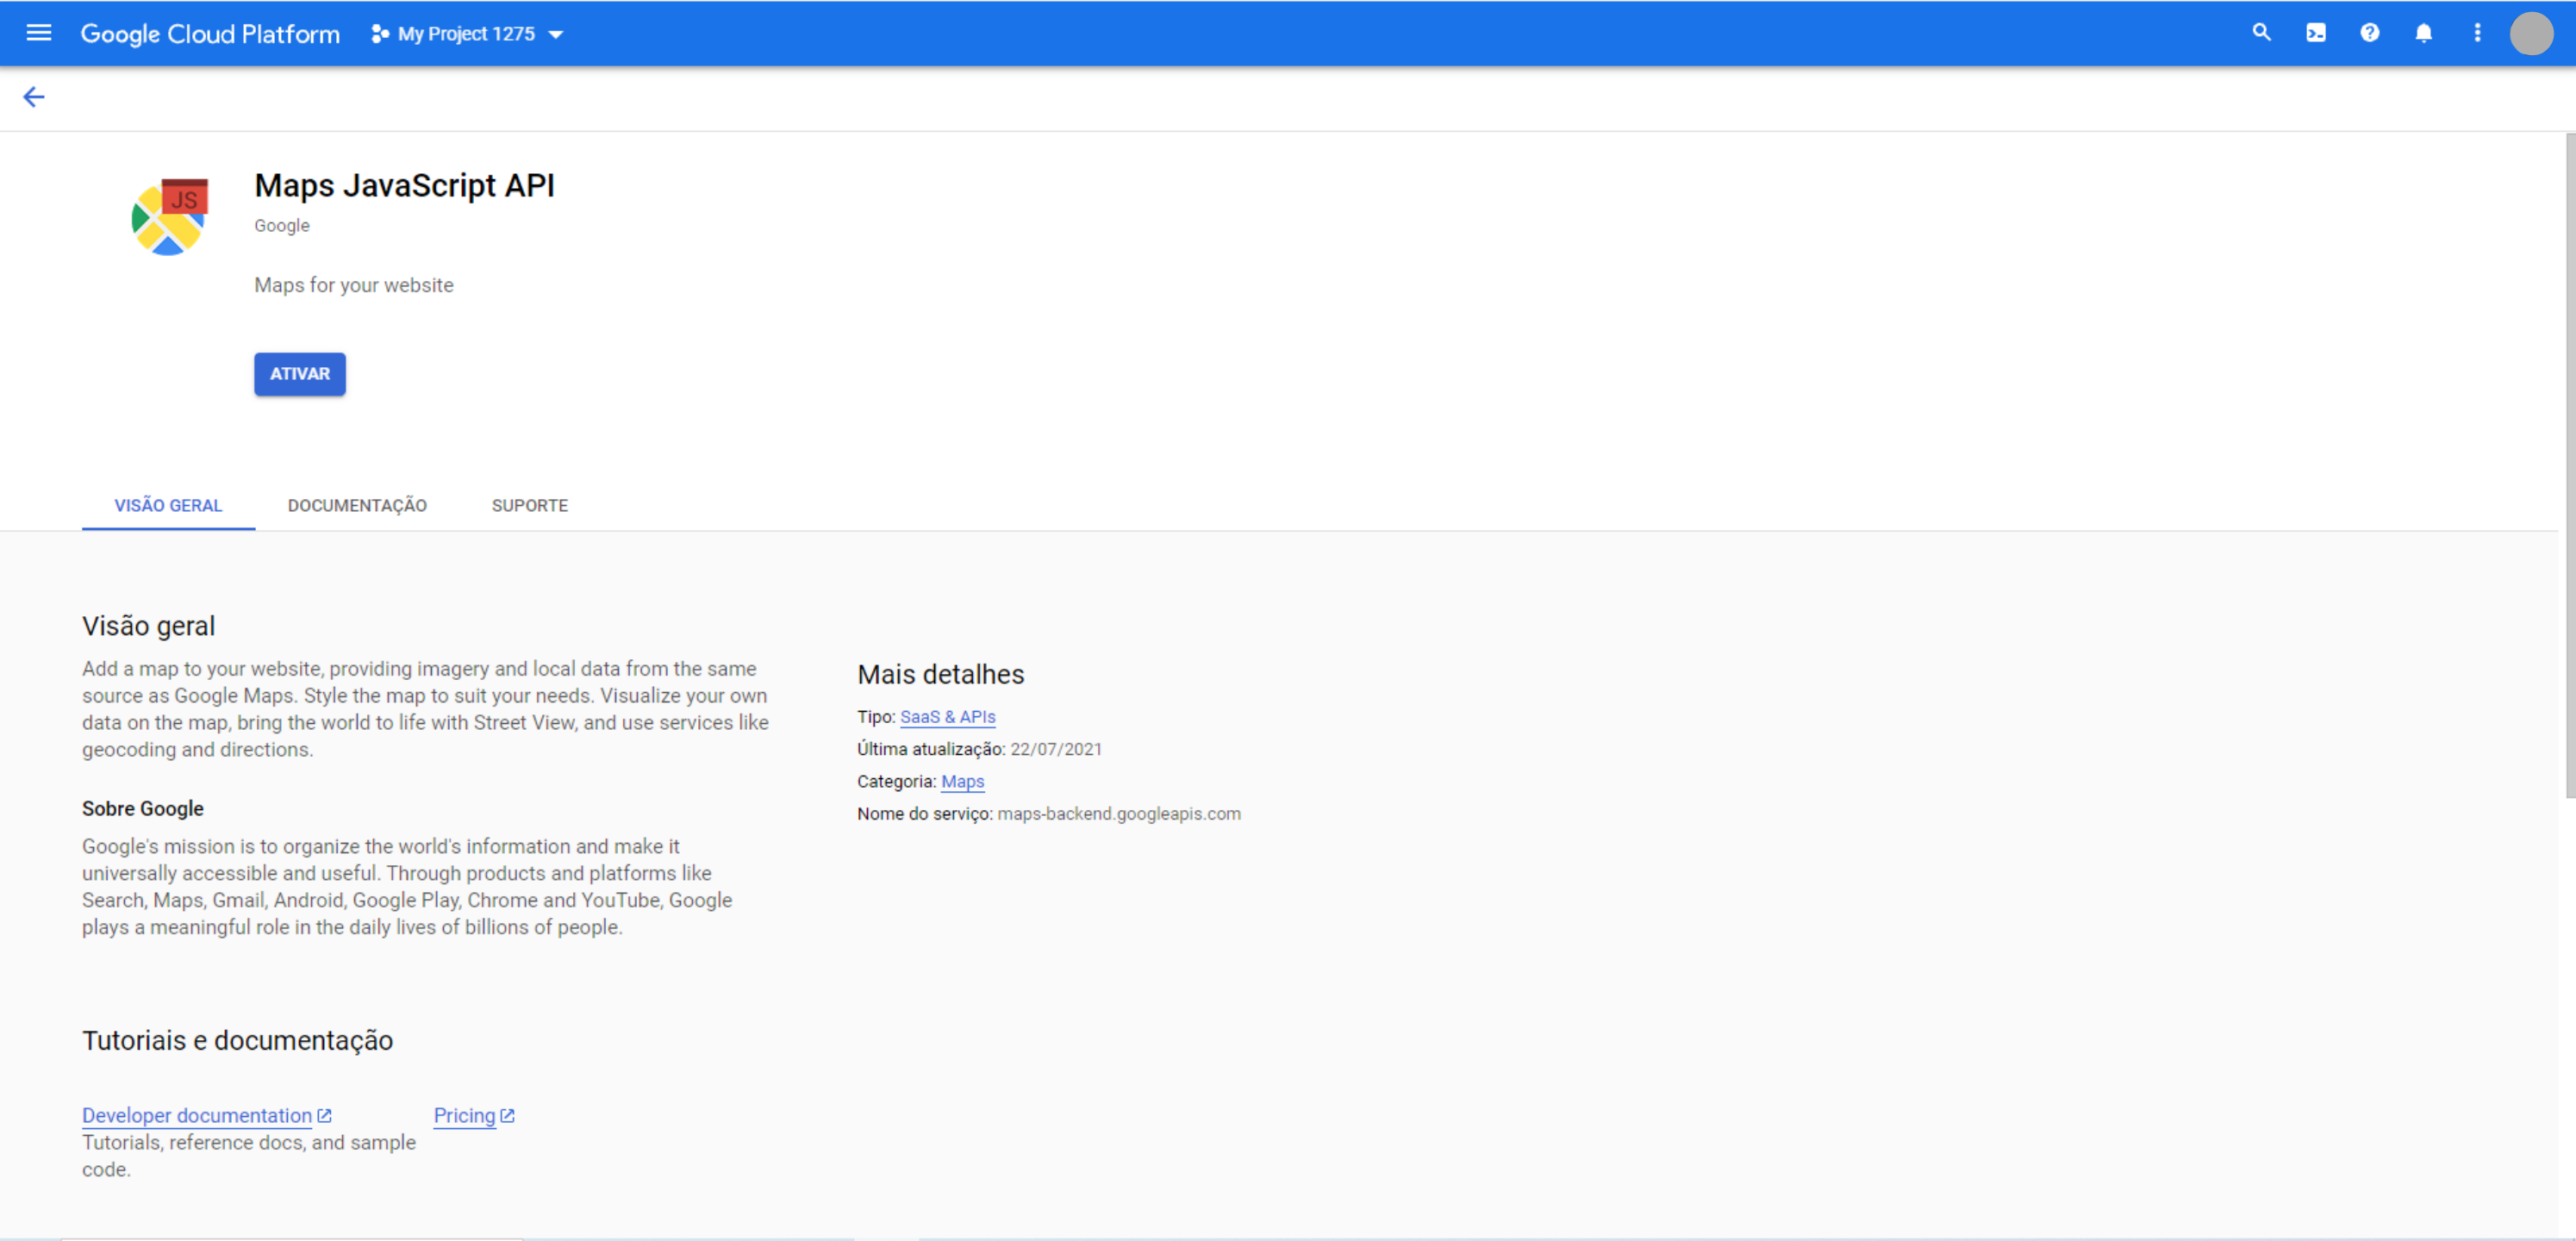
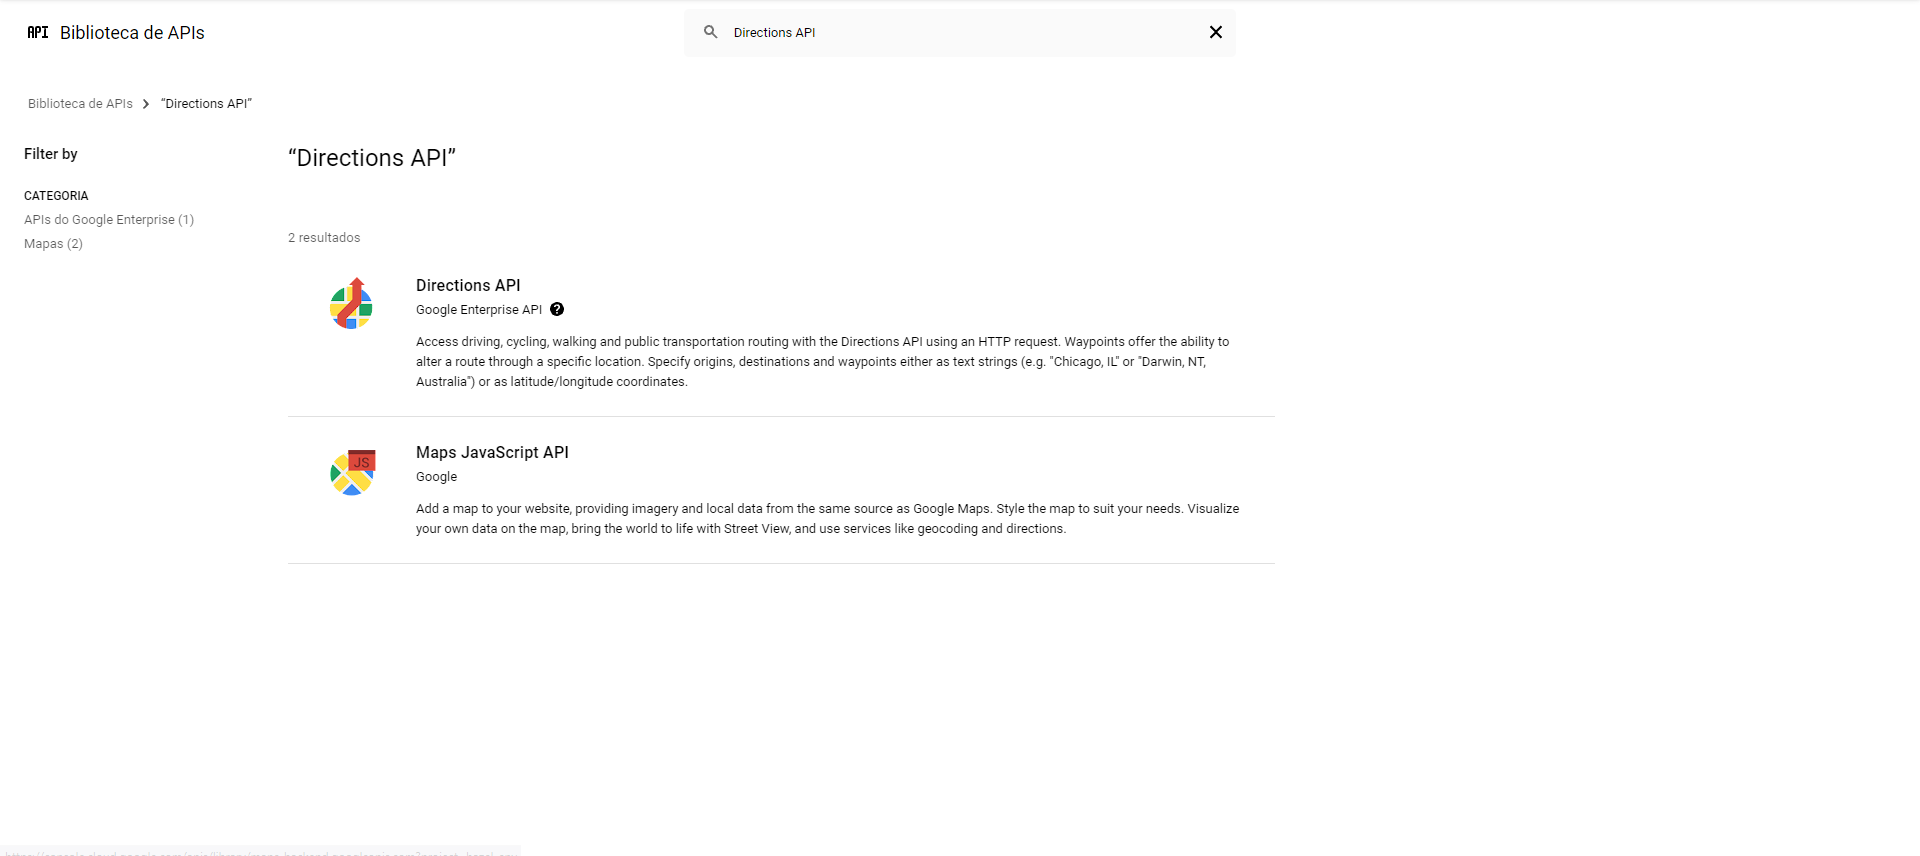
Type 'Maps javascript api' and select the first option.
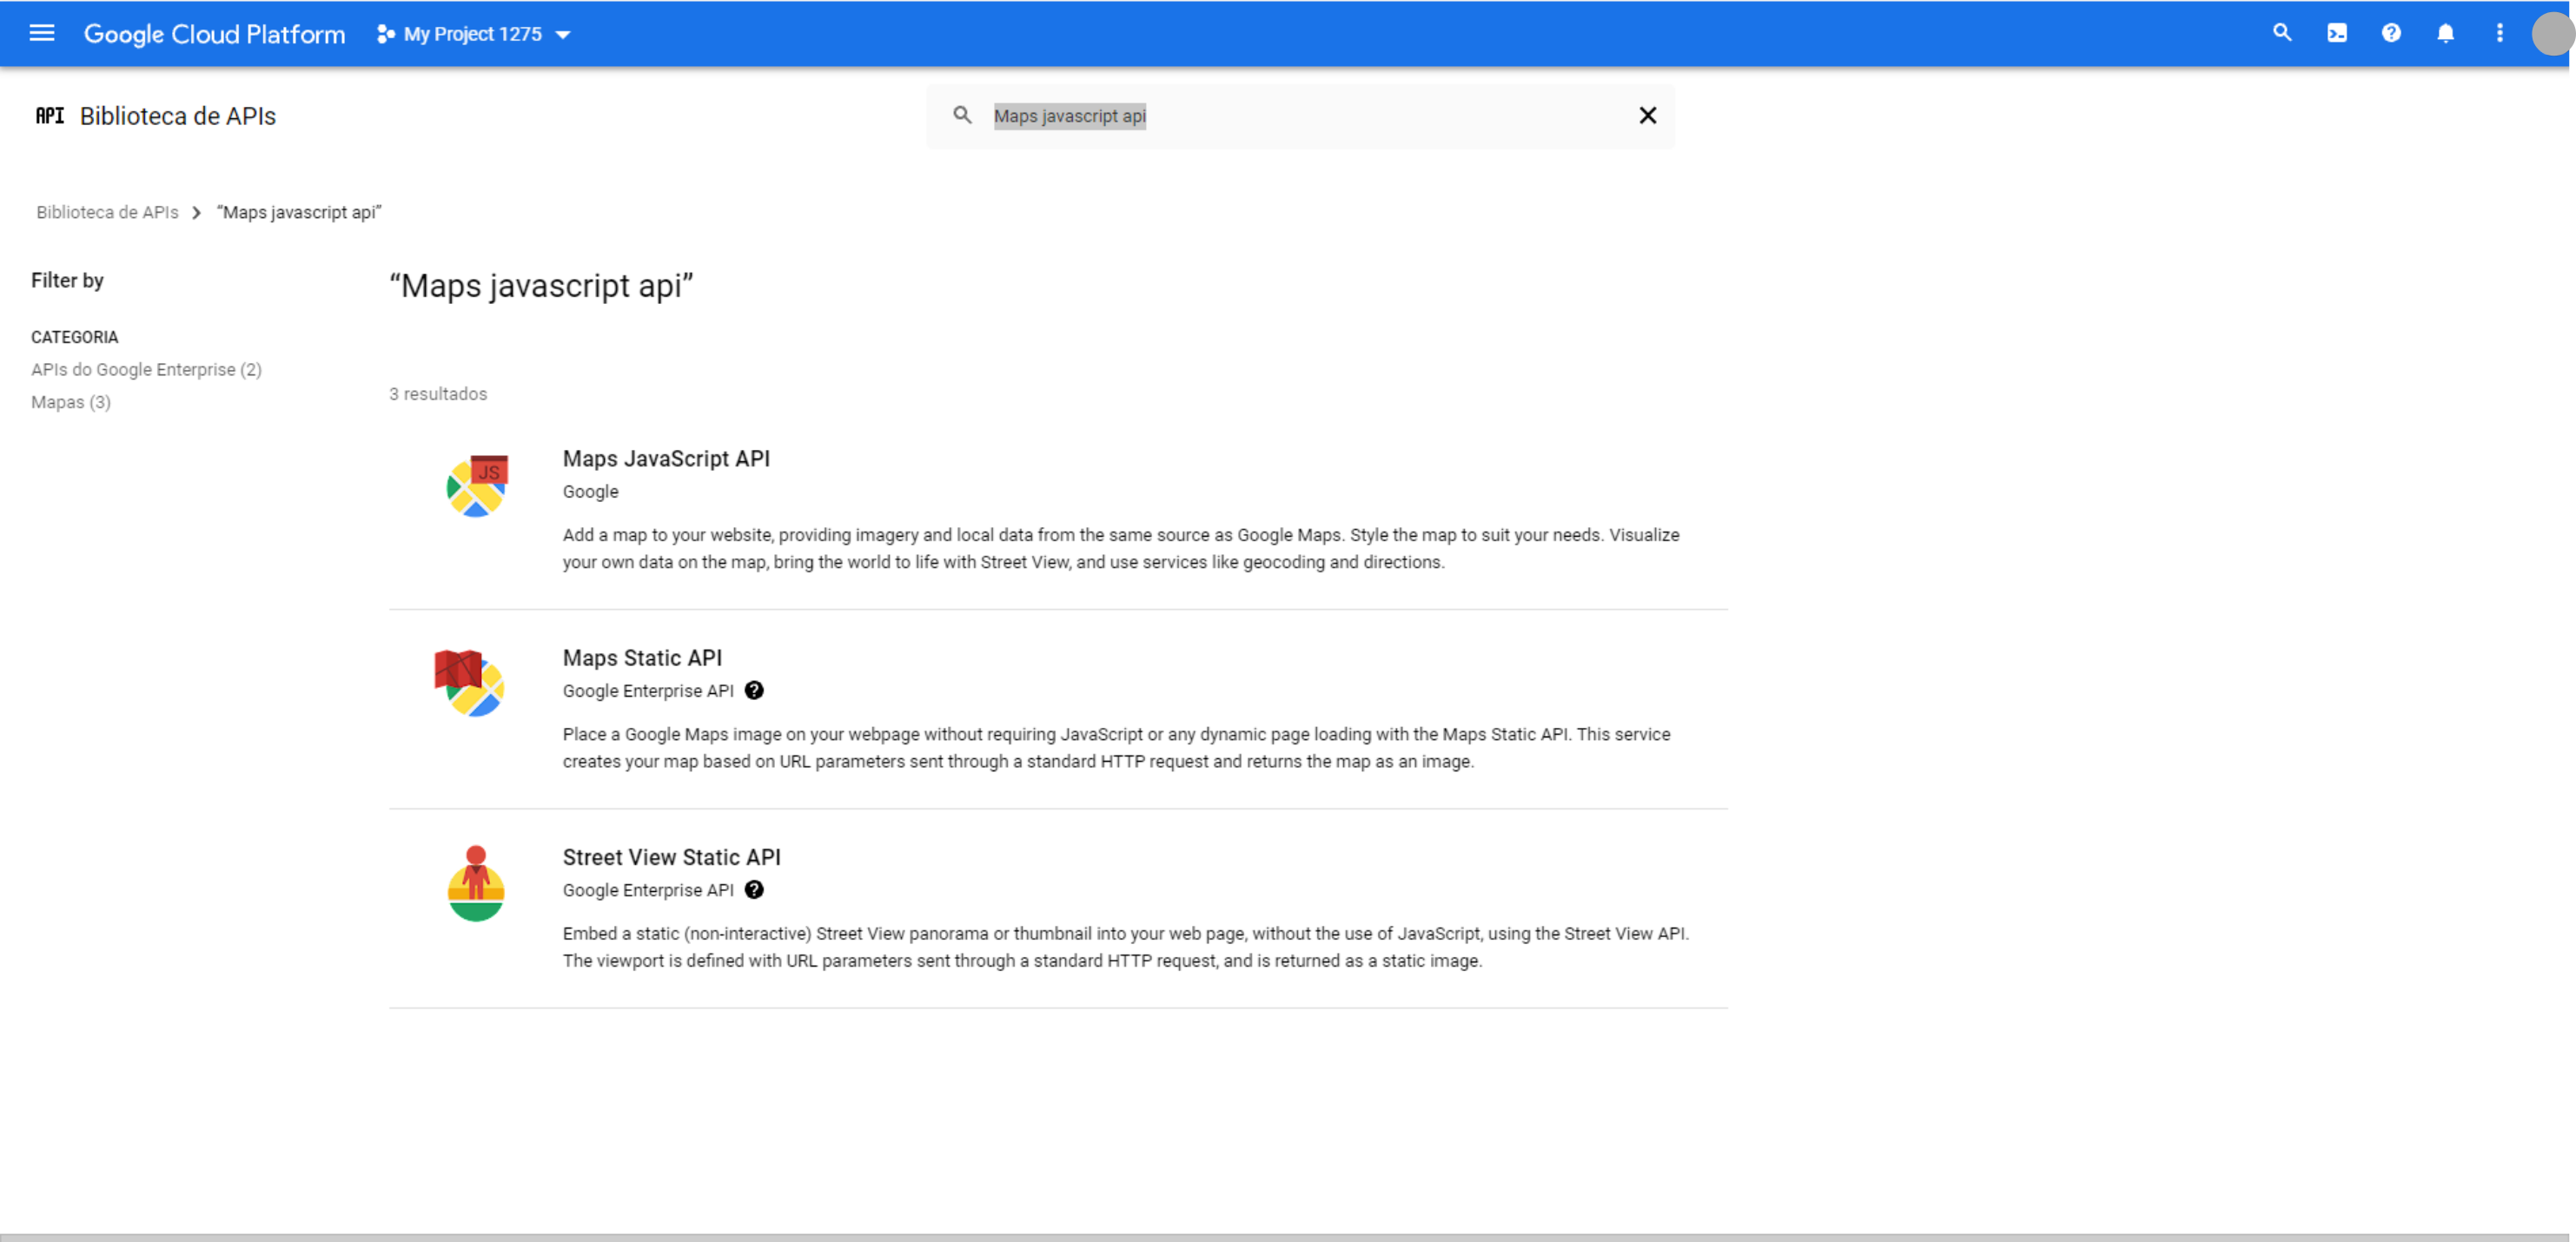
Next, sekect "Activate"
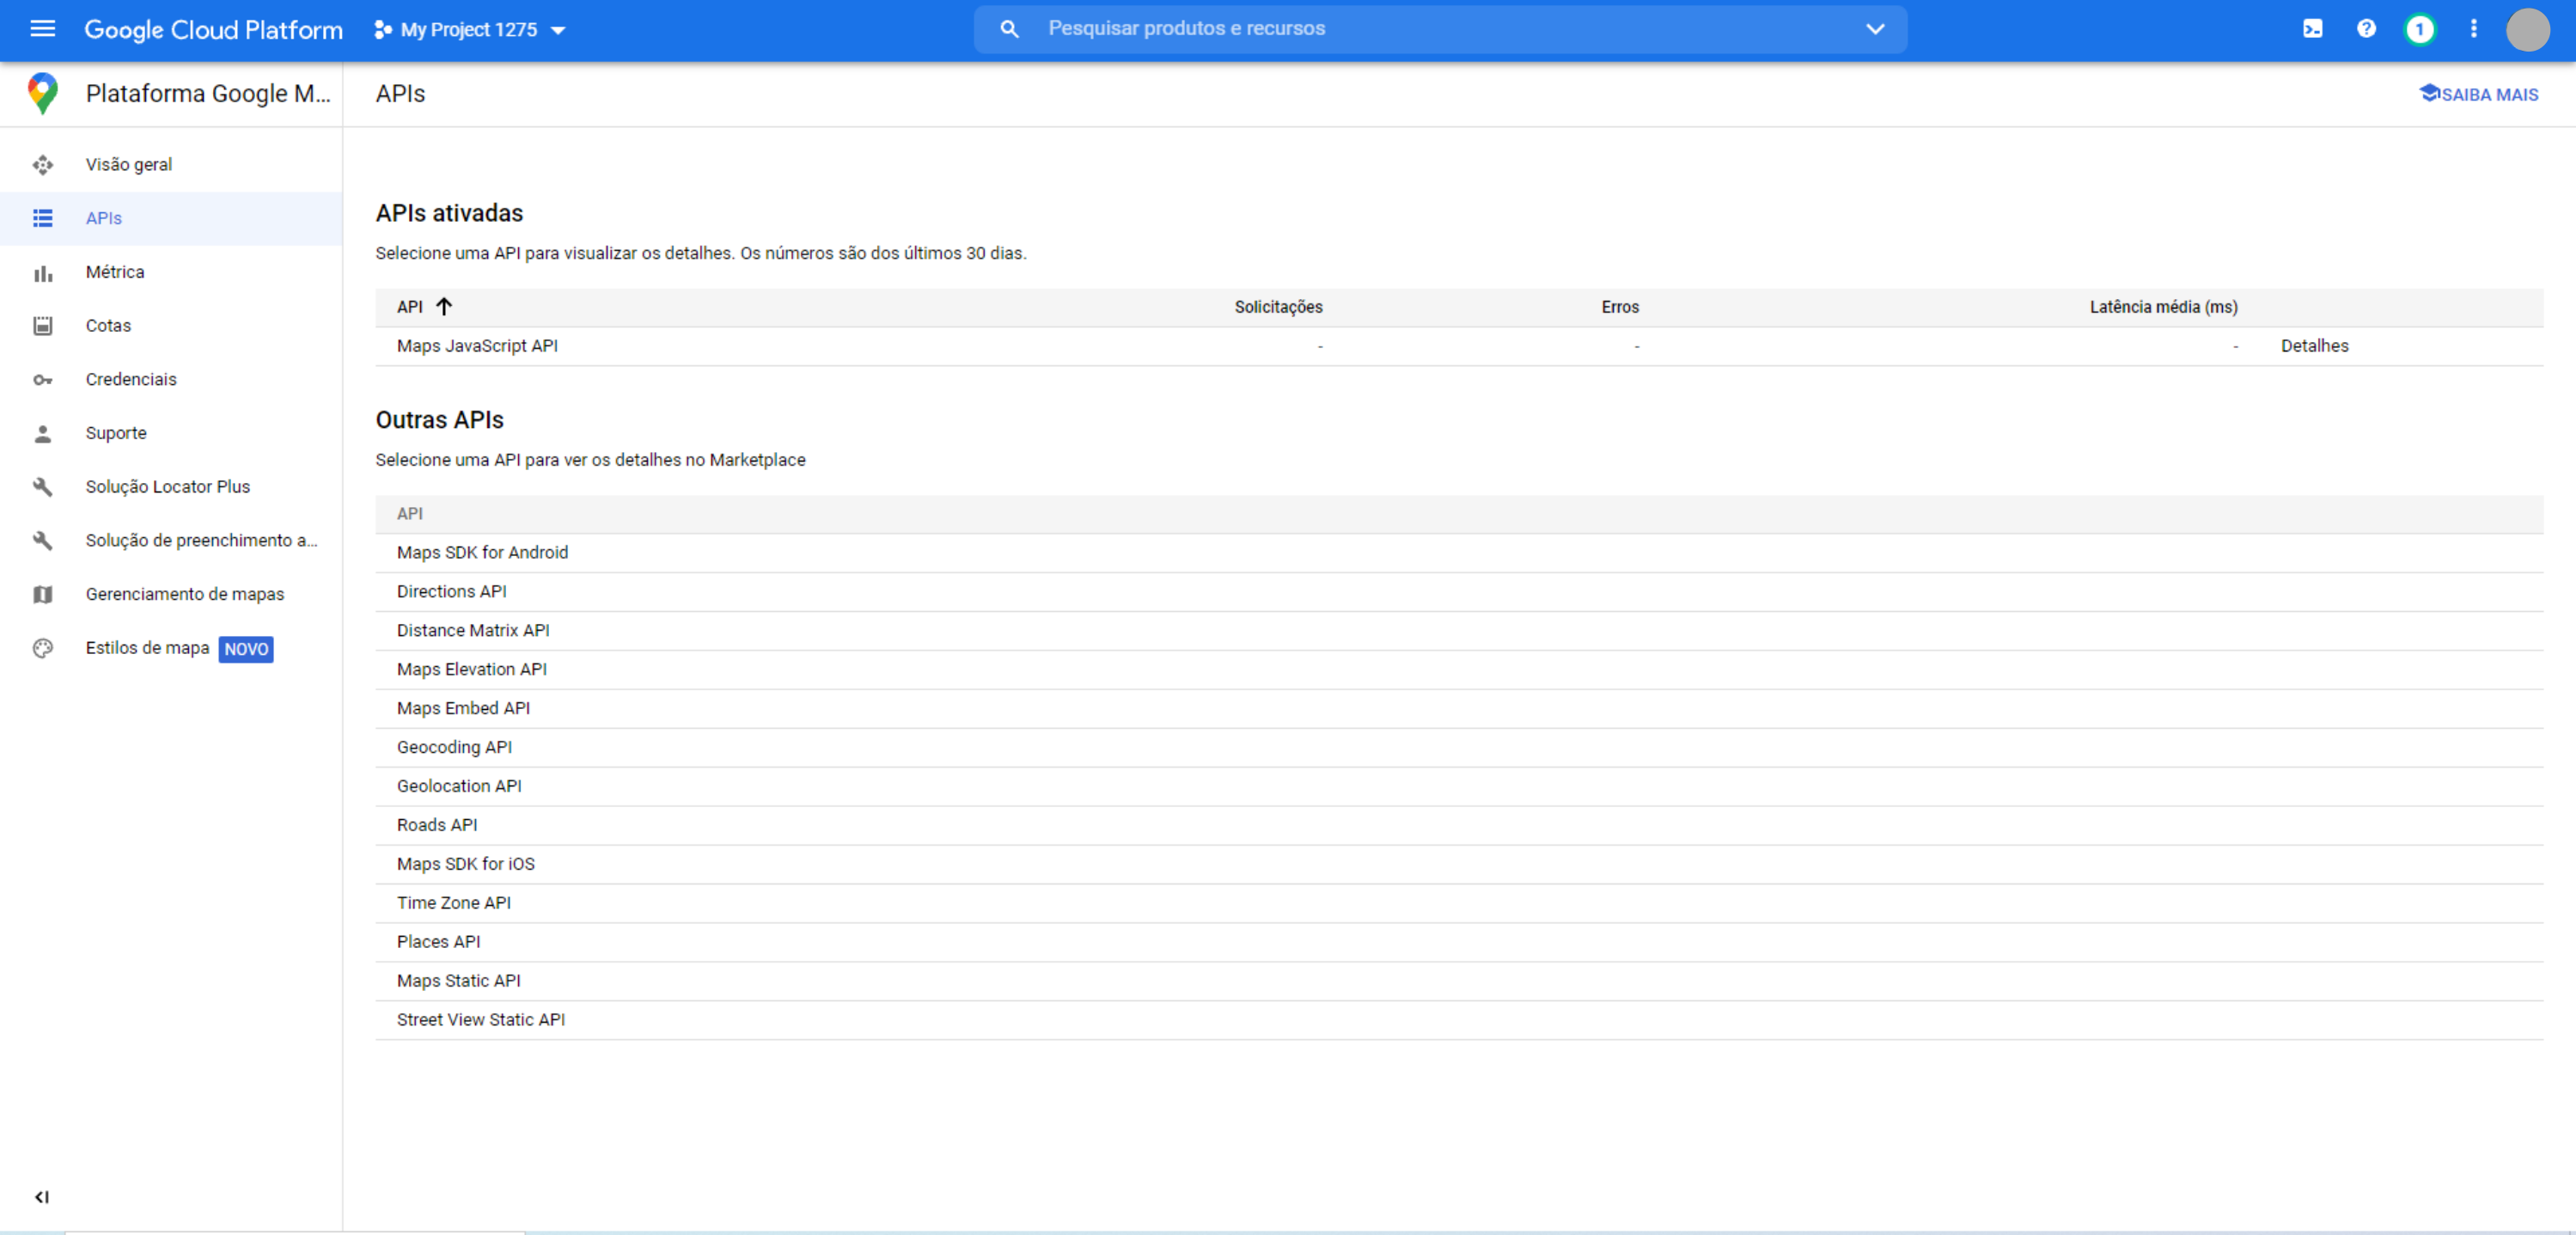
After activation, you will be redirected to the activated APIs page. Now the process must be redone (library, API search and activation) to the activation of the other 3 APIs.
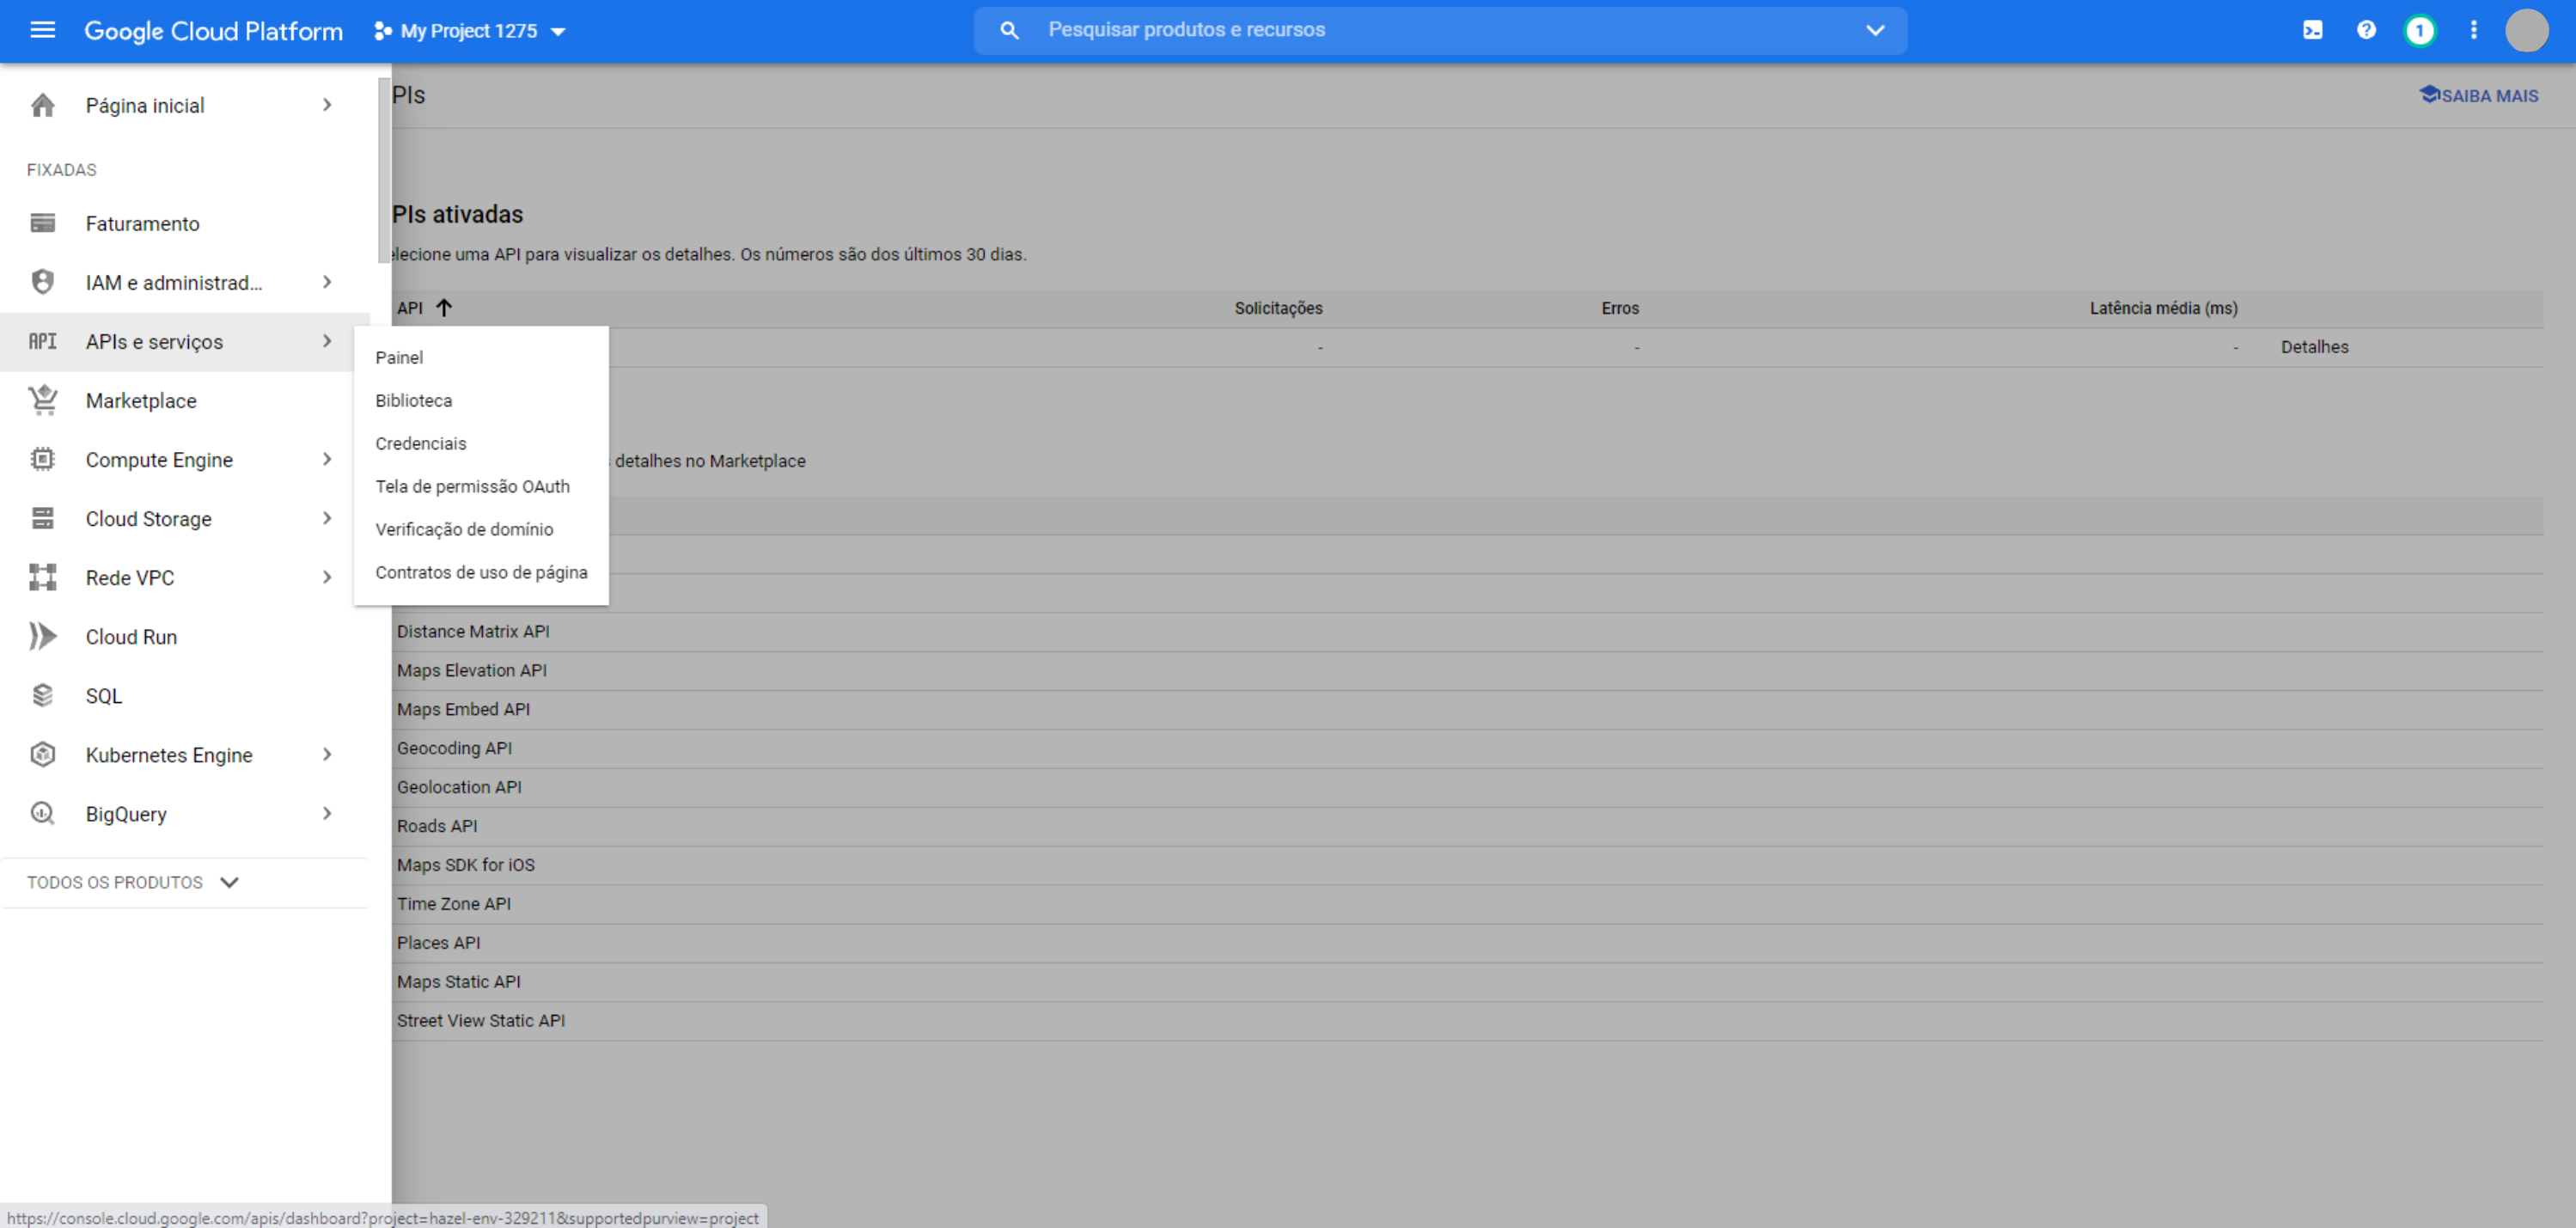
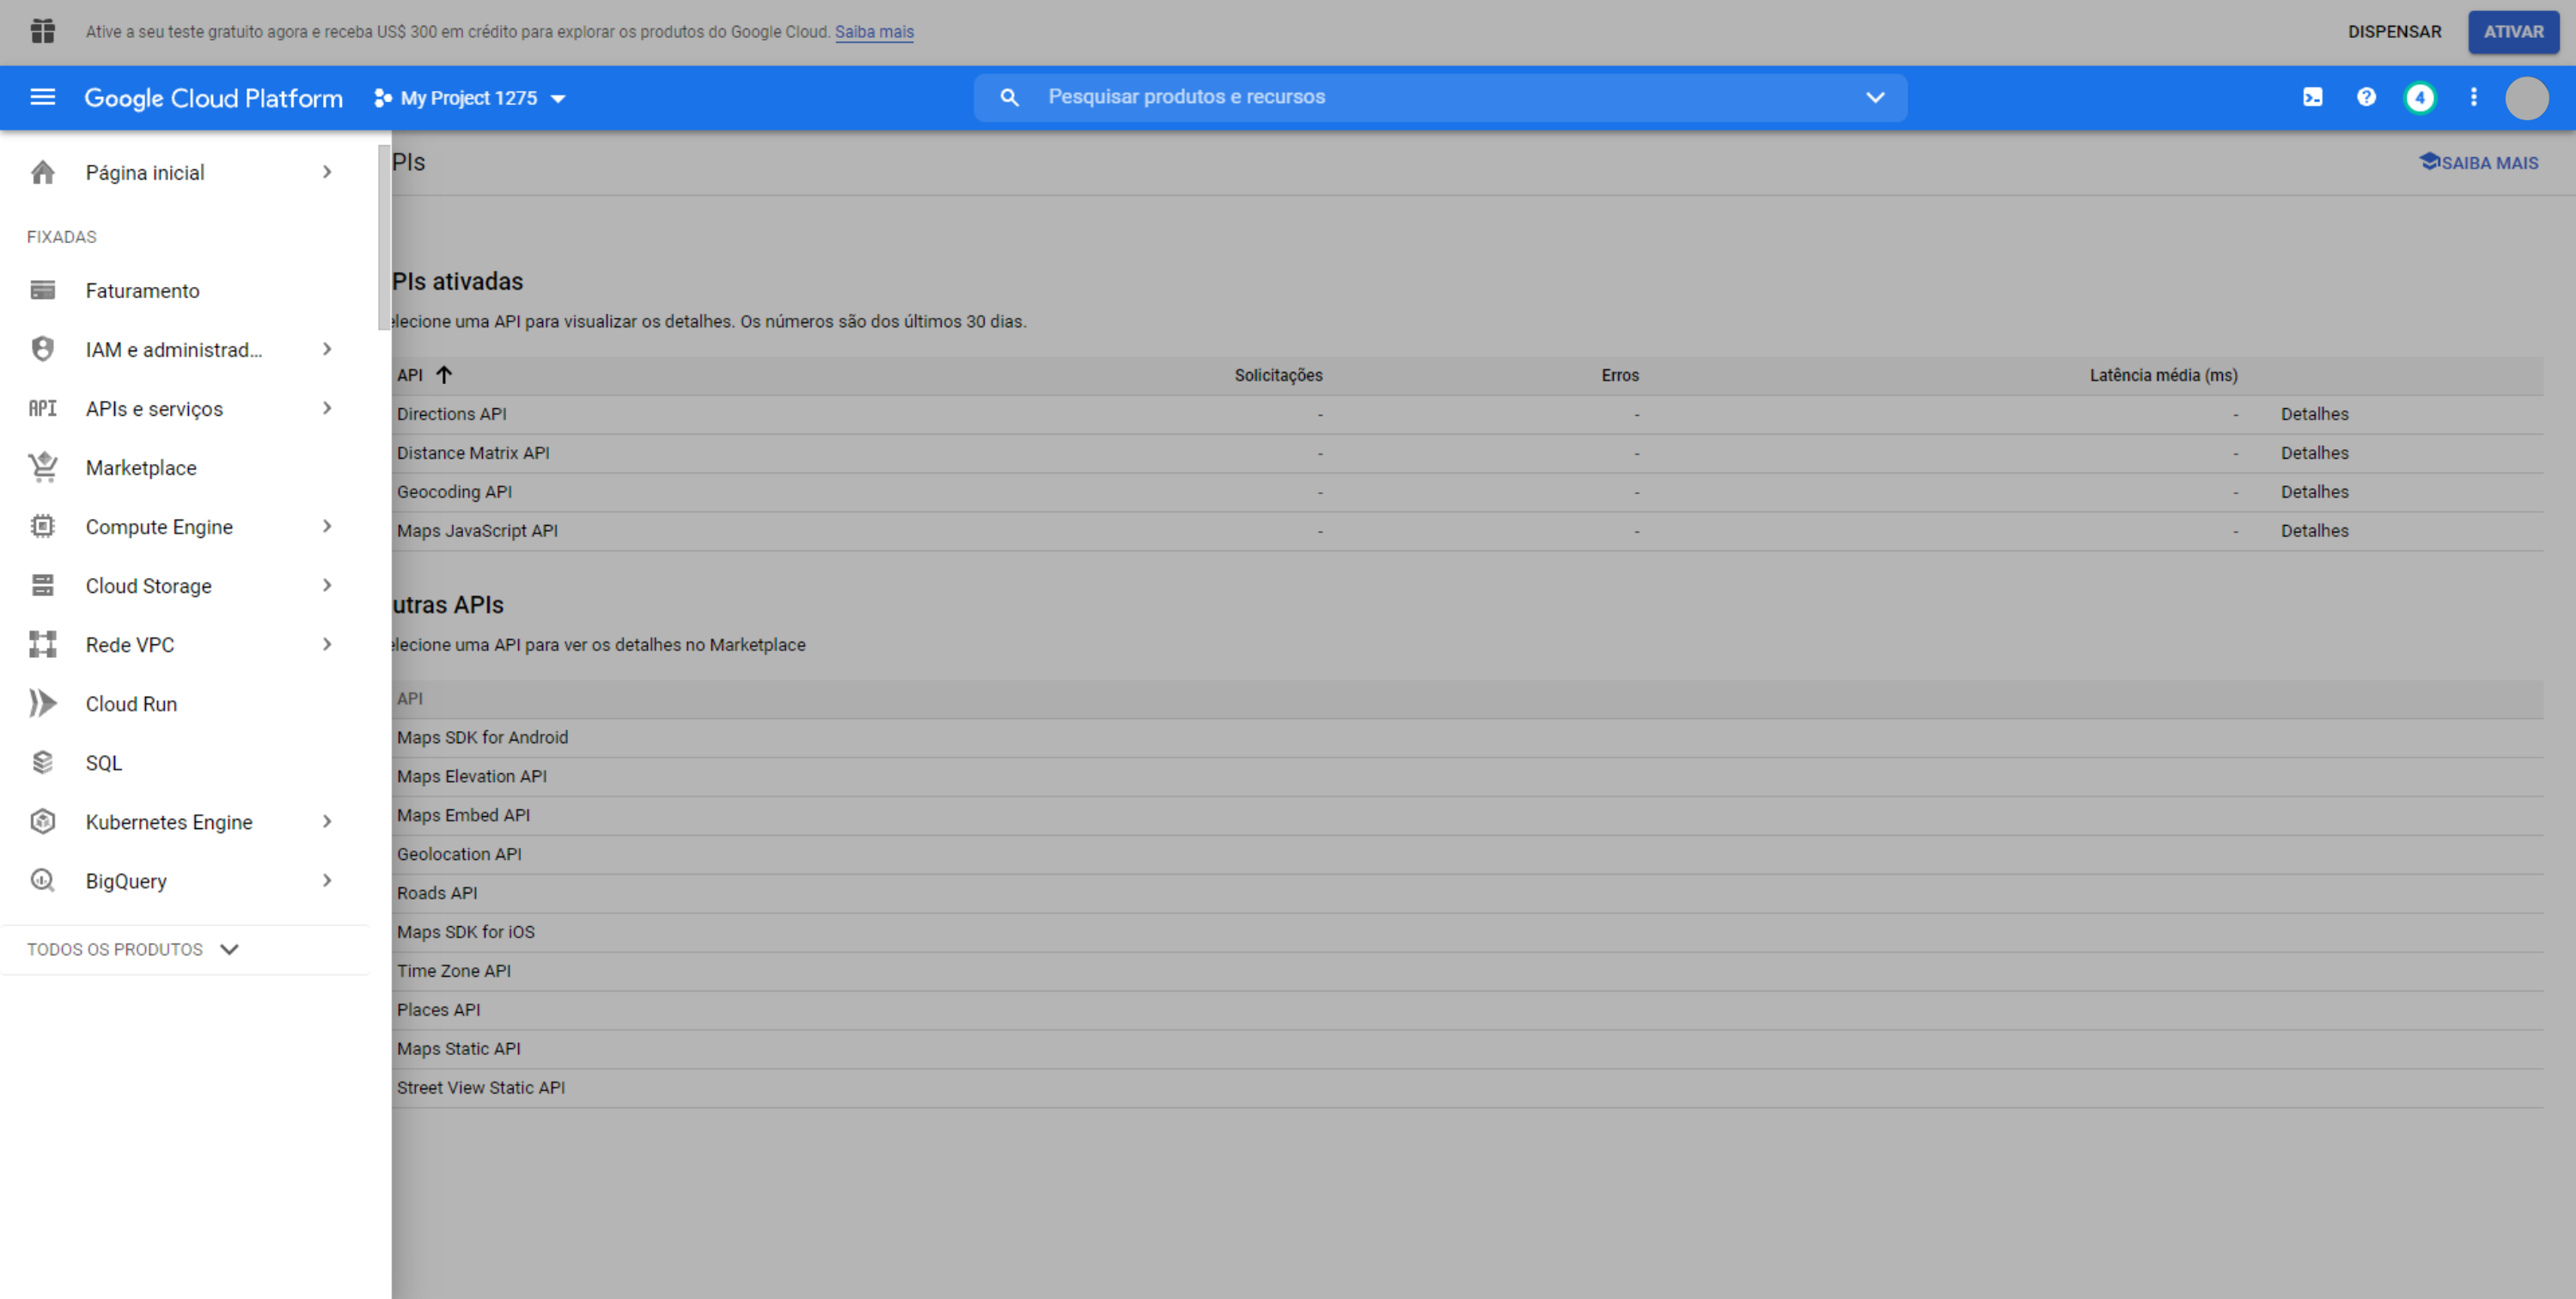
Access the library again by opening the options menu in the upper left corner under "APIs and Services" and under "Library".
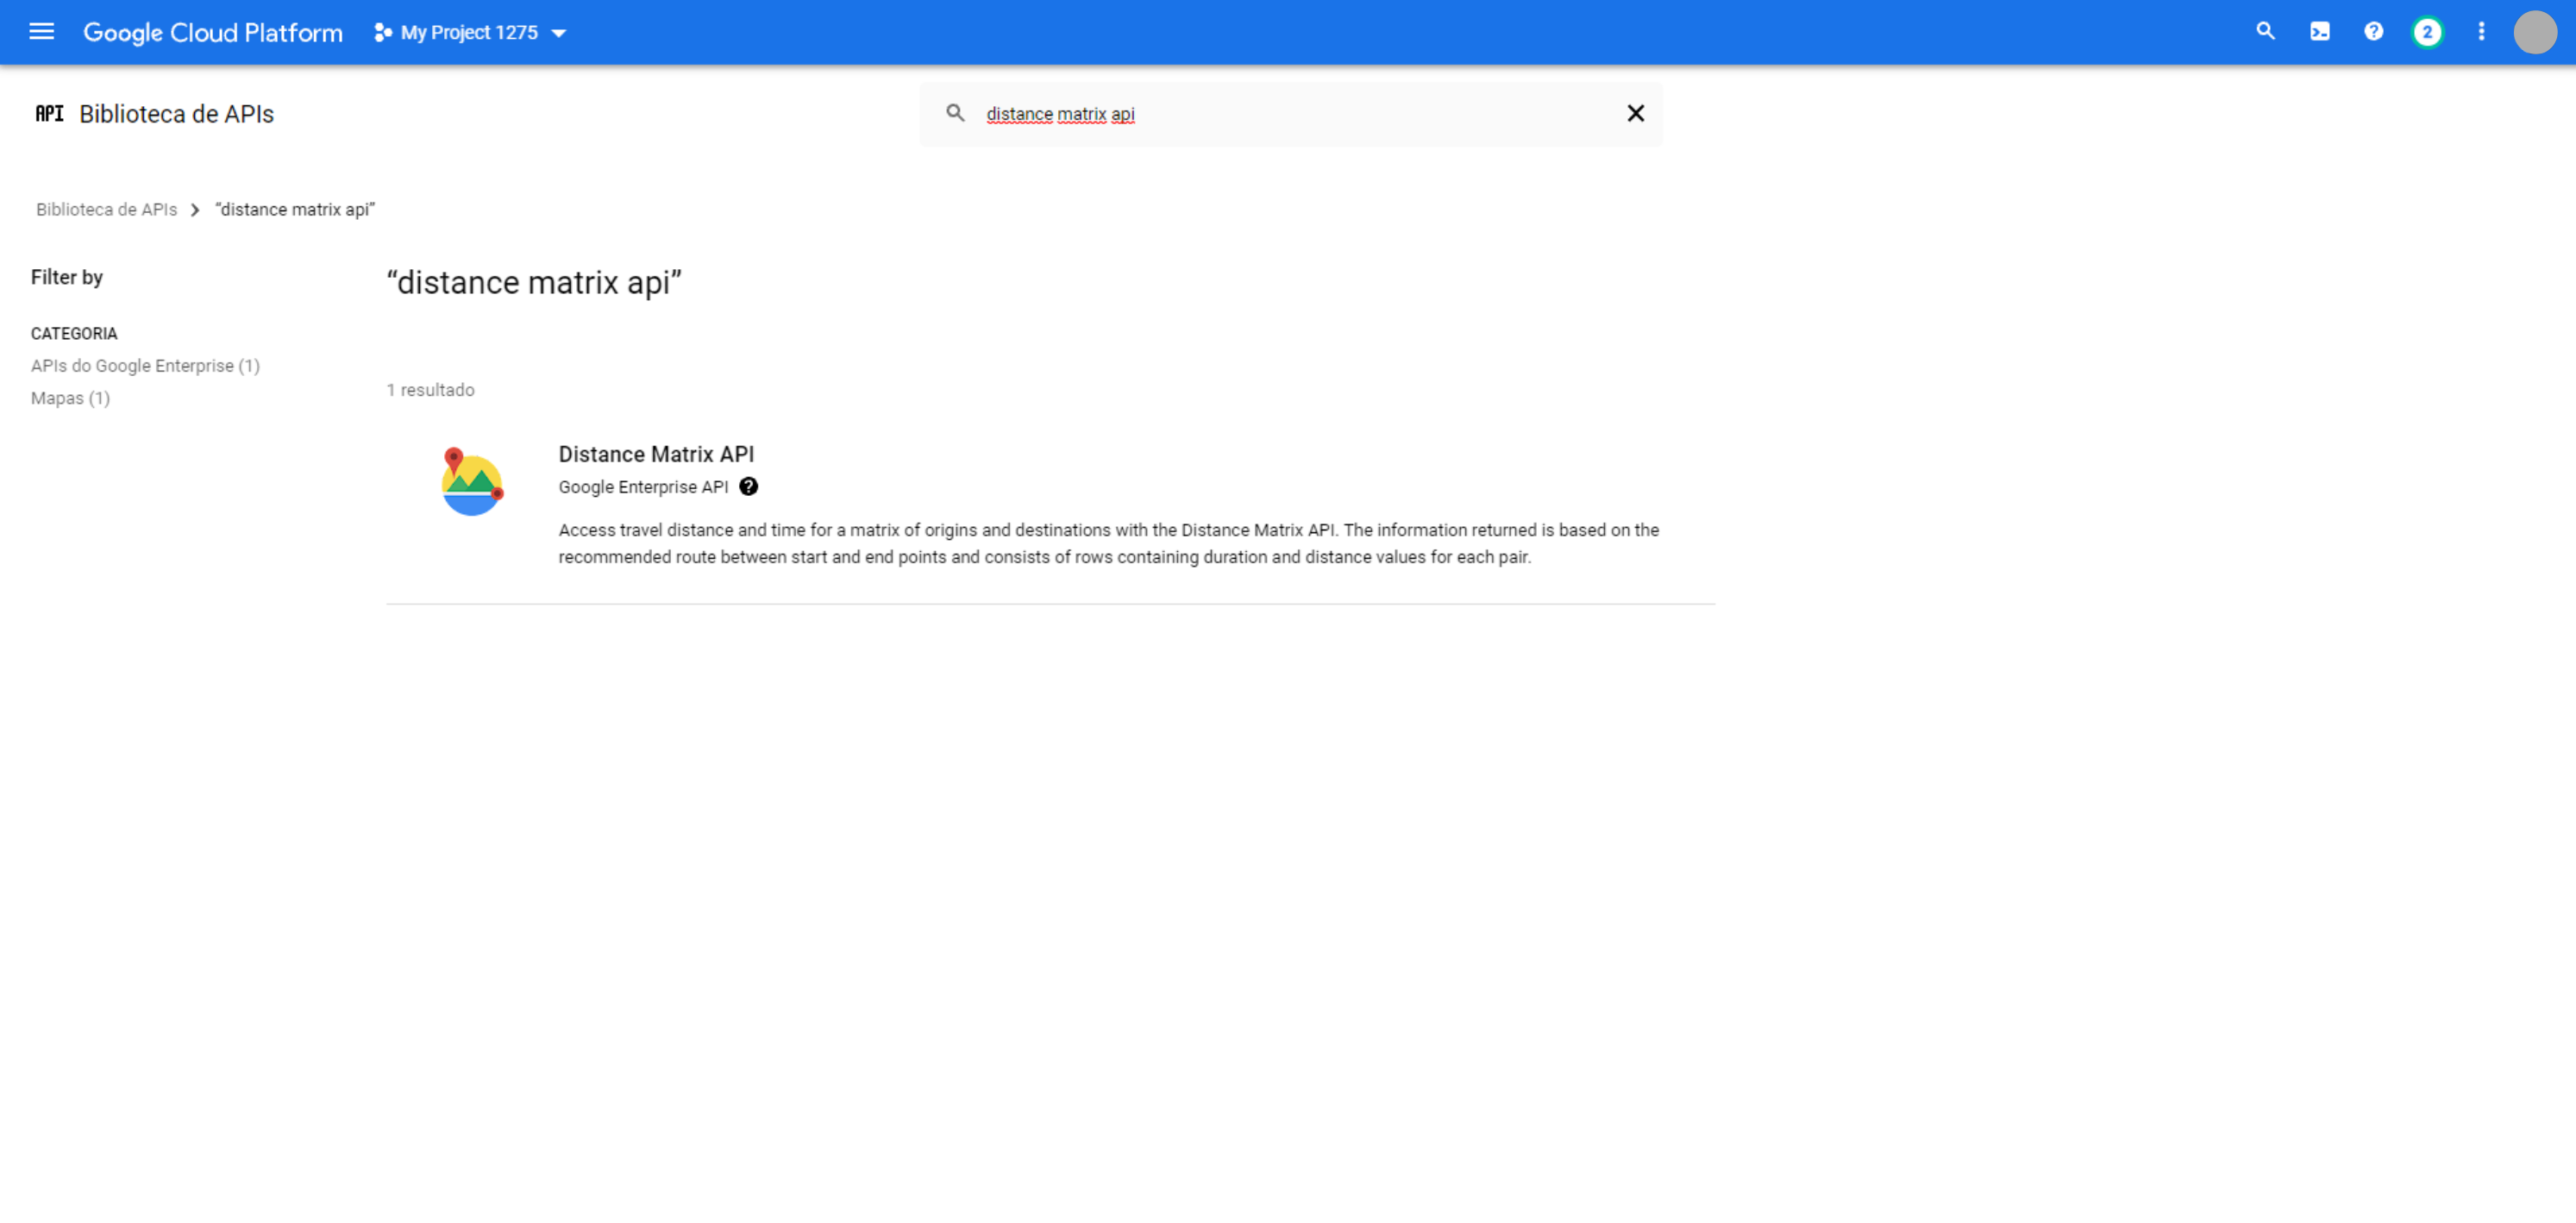
Repeat the process of searching, selecting and activating APIs for the following APIs: "distance matrix api", 'directions API' and 'geocoding API'.

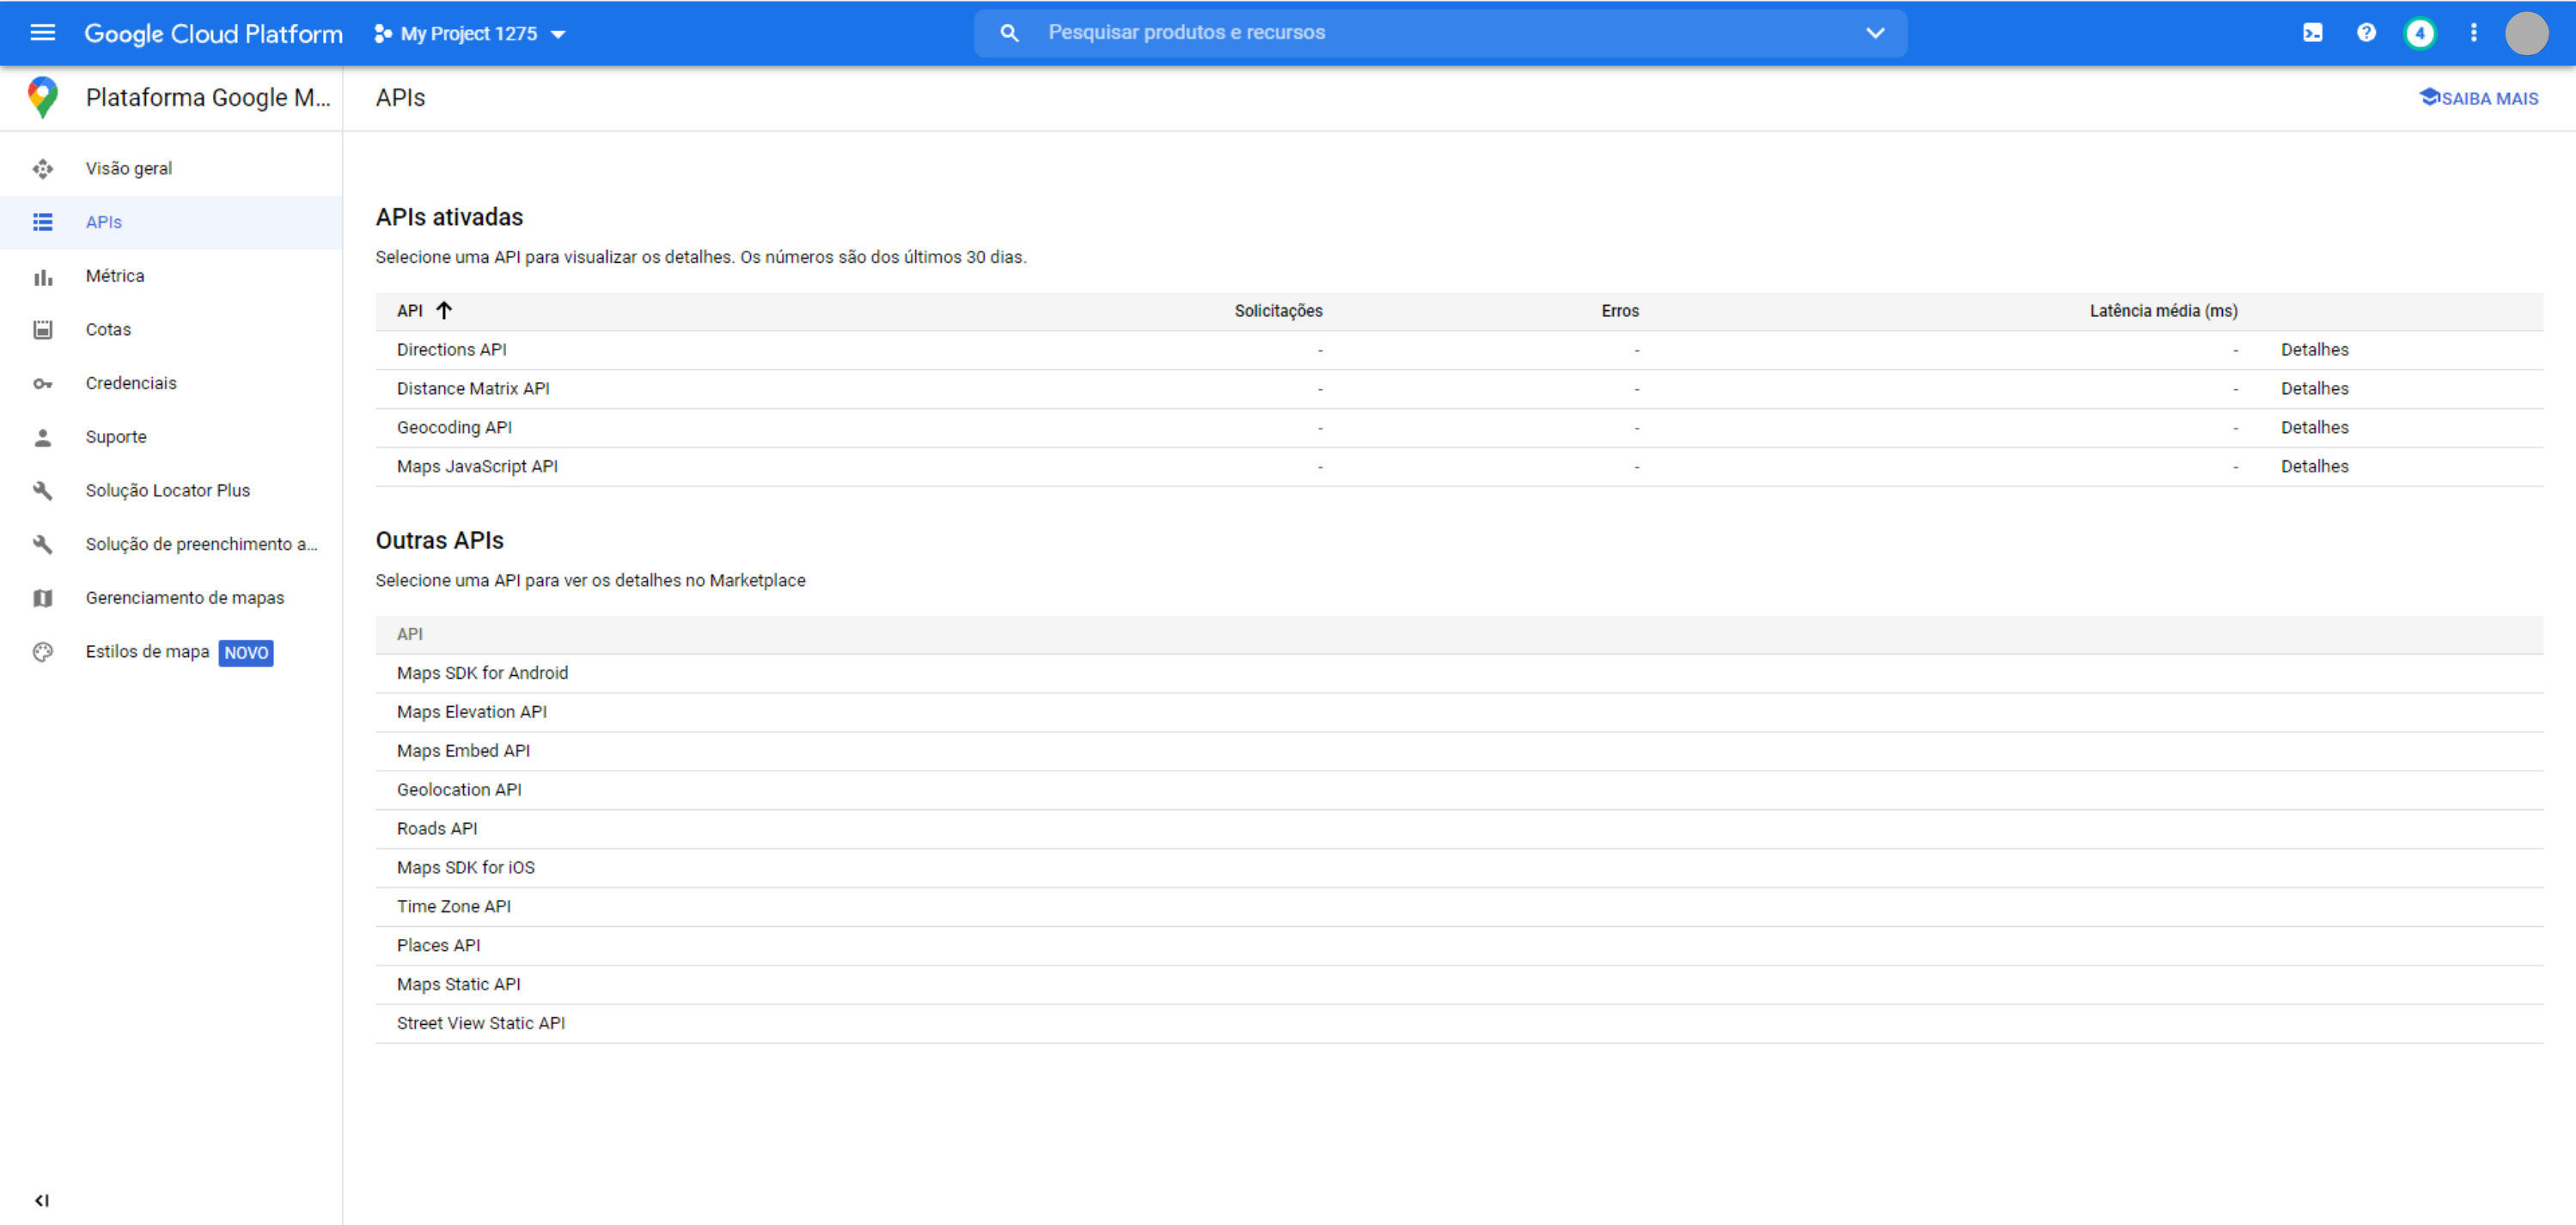
After the activations, the APIs panel should look like this:
6 – Add the payment information
Again from the top left options menu, select "Revenues"
Select "Link Billing Account"

Then fill in the billing details, and you're done! You can enter the generated key in the router, in "Settings", "Google API Key"